Prerequisites
- Install Microsoft Excel 2010 or later
- Install Azure DevOps Office Integration 2019 (free)
- Be a member of the project you want to edit
- You should have permissions set to Allow: View work items in this node and Edit work items in this node
- If you want to add or modify work items, you should have** Stakeholder **access or high
Setup
Once you have all the necessary prerequisites set up, it’s time to get started.
- Open up Excel
- Click on Team on the top menu
You will see a lot of options greyed out. You need to connect the Excel plugin to your Azure DevOps environment.
- Click on New List
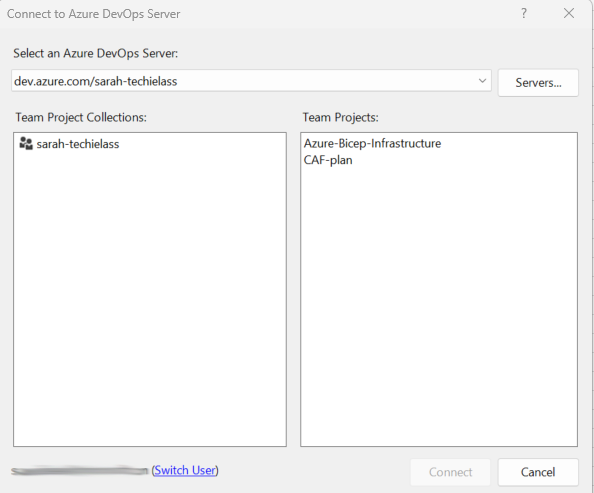
- This will activate a pop up box asking to Connect to an Azure DevOps Server.
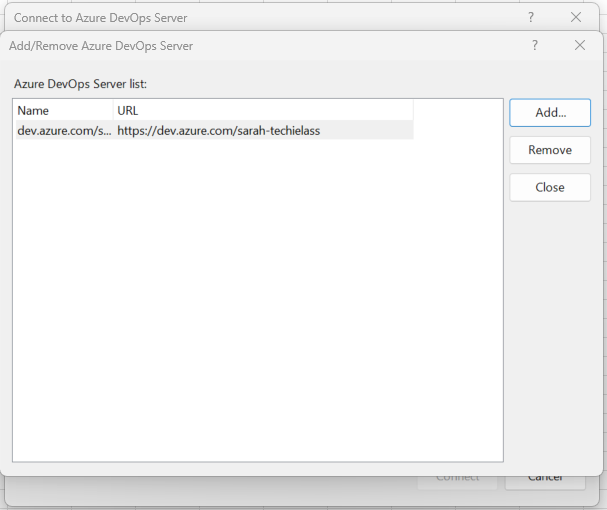
- Click on Servers
- Now click on Add
- Enter the URL of your Azure DevOps server
- Then click OK
- It will prompt you for authentication to the Azure DevOps server
- Now click on Close
- The plugin will now pull in information about your Team Projects
Make bulk changes
- Select the relevant project and click on Connect
- You will be prompted regarding which items you want to pull from Azure DevOps Boards into Excel. You can either start a new list or pull in items from a query
- You can now start to make the modifications that you need to make
- Once you have made the changes you need, click on Publish within the Team tab
- If you refresh your Azure DevOps Boards view the changes you have made will now be available
Conclusion
In conclusion, bulk editing Azure DevOps items using Excel can save everyone significant amounts of time and effort. By exporting the work items into an Excel sheet, users can quickly make changes to multiple items at once, and then easily import the changes back into Azure DevOps. This feature is especially helpful for larger projects with numerous work items that require frequent updates.


Top comments (11)
By exporting items to Excel, teams can make fast, consistent changes across many work items at once, reducing repetitive manual work and Pokepath TD minimizing errors. Importing the updated data back into Azure DevOps streamlines project maintenance, saves significant time and effort, and makes frequent large-scale updates far more manageable for teams.
Great guide on bulk editing Azure DevOps work items using Excel! It’s like a bat smash for project management—just as a well-timed swing can change the game, efficiently updating multiple work items can drastically improve our workflow.
Brat Generator makes it easy to design custom Charli XCX brat cover style images in seconds, free and online.
HEIC to JPG is the easiest way to convert high-efficiency HEIC files into universally compatible JPG images.
Nano Banana is an advanced AI image generator designed for effortless creativity. With Nano Banana, you can edit, refine, and generate stunning images online—completely free to try.
Sprunki Coloring Pages – Explore free printable designs and bring your favorite characters to life with colors.
You might want to try Restore Old Photos — it restores damaged or black-and-white images using AI, and you can preview the result before downloading.
Struggling with complex image edits? Kontext Dev offers free AI-powered local image editing with character consistency and multi-modal input — perfect for artists and developers.
Shadows and flickering lights create unforgettable chills Fnaf.
I’m officially obsessed with Sprunki Incredibox! The creative possibilities are endless. I can’t stop mixing tracks!