
Terraform is an Infrastructure as Code (IaC) tool that can help you define resources within your environment. In this article I want to take you through deploying your first resource within Azure via Terraform. The resource we are going to deploy is an Azure Resource Group.
Prerequisites
- Azure subscription: If you don't have an Azure subscription, create a free account before you begin
Build the Terraform Template
There are multiple ways to deploy Terraform templates, from your local machine. Through the Azure Cloud Shell and through DevOps tools. We are going to walk through creating the template and deploying it via the Azure Cloud Shell.
The reason we’re using this method is all the tools you need are already installed within Azure Cloud Shell.
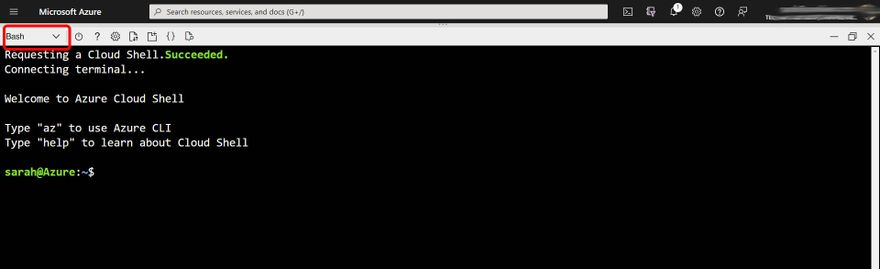
Navigate over to https://shell.azure.com
Ensure you are using the Bash Cloud Shell.
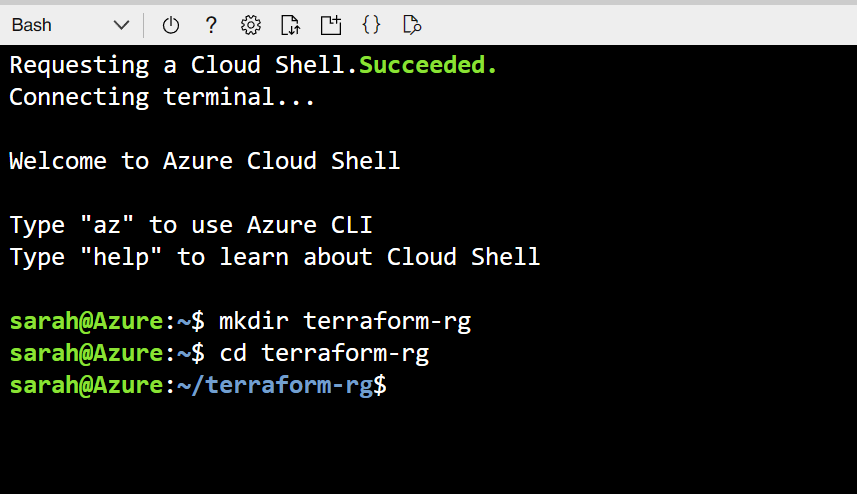
- Within the console type:
mkdir terraform-rg
This will create a new folder, we’ll use this folder to store our template in.
- To switch into that folder type:
cd terraform-rg
- The next command you want to type is:
Code main.tf
This will open up the Visual Studio Code editor within the shell and create a new file called “main.tf”.
- Within the editor paste the following code:
terraform {
  required_version = ">=0.12"

  required_providers {
    azurerm = {
      source  = "hashicorp/azurerm"
      version = "~>3.39.1"
    }
    random = {
      source  = "hashicorp/random"
      version = "~>3.4.3"
    }
  }
}
You can use CTRL+S to save the new contents to the file.
This is the start of your template, it’s indicating what version of Terraform you wish to use and what providers you need. A provider within Terraform is essentially a plugin that enables interaction with an API.
We need the Azure provider and we are also using the Random provider. The Azure provider interacts with the Azure API to help deploy resources to Azure.
The Random provider allows you to use “randomness” within Terraform configurations. It helps you generate random values for resource names or part of a resource name.
- The next part of the template you want to paste into your file is:
variable "resource_group_location" {
  default     = "eastus"
  description = "Location of the resource group."
}

variable "resource_group_name_prefix" {
  default     = "rg"
  description = "Prefix of the resource group name that's combined with a random ID so name is unique in your Azure subscription."
}
You can use CTRL+S again to save the new changes.
This section is declaring variables we’ll use to deploy our resource group, the location and also a prefix we’ll append to the resource group name.
- The last section of the template that you want to paste in is:
provider "azurerm" {
  features {}
}

resource "random_pet" "rg_name" {
  prefix = var.resource_group_name_prefix
}

resource "azurerm_resource_group" "rg" {
  location = var.resource_group_location
  name     = random_pet.rg_name.id
}
Again make sure you use CTRL+S to save the new changes.
This part of the template is telling Terraform to deploy an Azure Resource Group. It’s pulling the variables we defined earlier in the template such as the name and the location.
Deploy the Terraform Template
We’ve not created the template to deploy the Azure Resource Group, now it’s time to deploy it. When deploying a Terraform template there are several stages to go through.
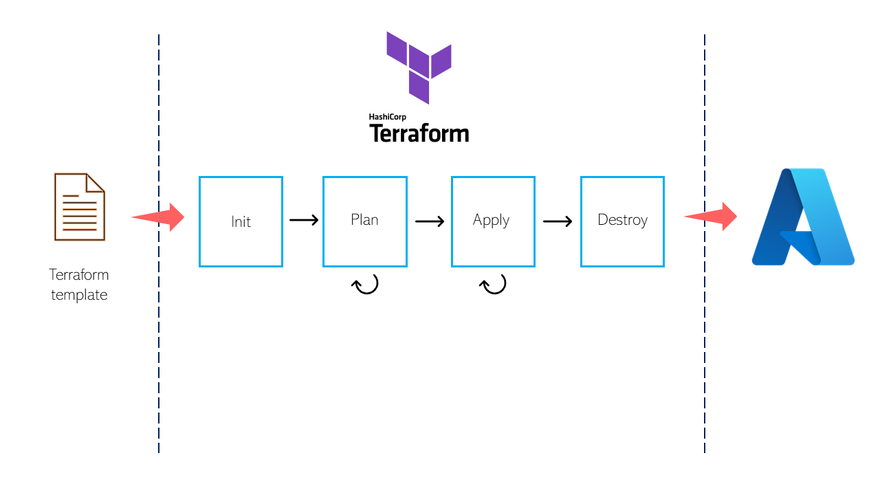
Let’s explain the steps:
- Init: This command prepares the working directory for use with Terraform. It initialises the backend, child module installation and plugin installation.
- Plan: This commands determines the deltas between the current configuration and prior state data. It will propose changes that make the remote infrastructure match the current configuration.
- Apply: Running this command will run the plan from the terraform plan command.
- Destroy: This command is used to destroy all remote objects managed by a particular Terraform configuration.
As we can see in the diagram the first thing we need to do is initialise the Terraform file.
- Make sure you are in the directory where the Terraform file lives and enter the command:
terraform init
- The next step is to plan the resource group deployment. To do that type in the command:
terraform plan
- This command shows you what is going to happen if you were to deploy the Terraform file.
Next we want to deploy the Terraform file and create our resource group. To do that we can type in the command:
terraform apply -auto-approve
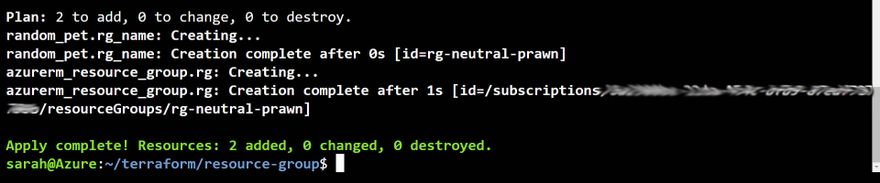
This will initiate the deployment, the -auto-approve command will avoid us having to type in yes to proceed with the deployment. If you don’t append the -auto-approve command then you would have to type in “yes” to deploy the resource.
After a few minutes you will get a confirmation message that the resource group has been created.
Congratulations!
You’ve deployed your first Azure resource using a Terraform template!
If you’d like to clean up this newly created resource you can run:
terraform destroy -auto-approve
And it will be destroyed for you.

Top comments (0)