Introduction
MindsDB powers the normal databases with the Machine Learning capability. They enable users to turn their normal tables into AI tables. They are on a mission to empower the in-database machine learning with the help of simple SQL queries only. One need not worry about the underlying coding or the setup to train such machine learning models.
In this tutorial, we will be using MindsDB Cloud to train a Predictor model that can predict the machine failure rates based on the following dataset.
Importing data to the database
As a first step to complete this tutorial, we need to import the dataset from the above link into our database. So, let's start doing that.
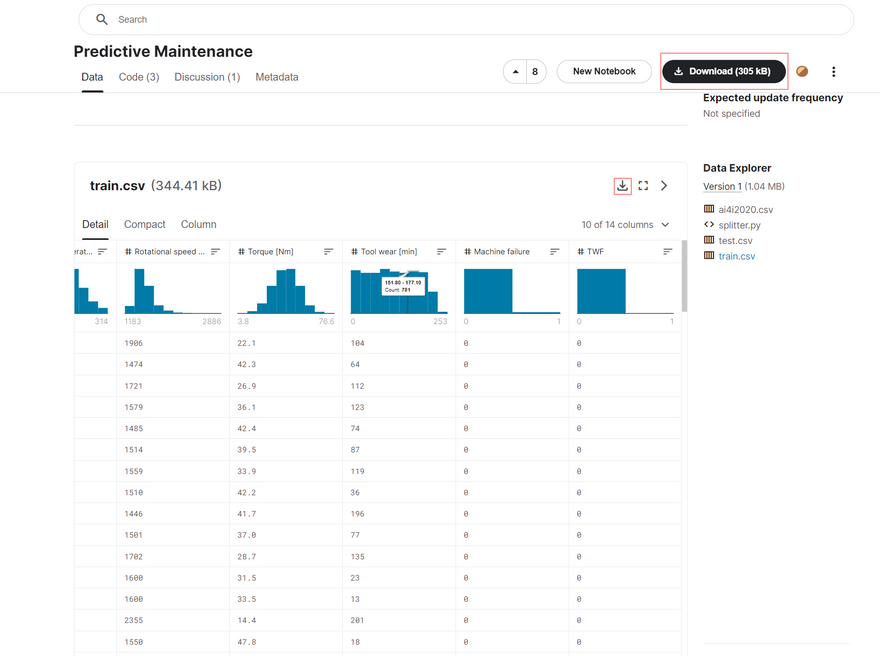
Step 1: Download the dataset from here.
Step 2: Now open the database manager that you generally use. I will be using MySQL workbench for this tutorial. You should have MySQL installed already and should be running on the localhost so that you can test a connection.
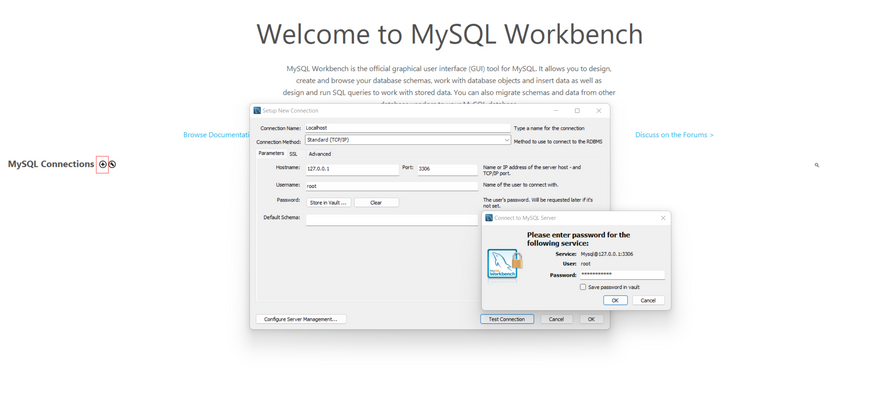
Once the prompt returns successful, click on OK to save the connection.
Step 3: Now once you are able to connect, simply click on Create a new Schema in the connected server button and provide a name to the schema when prompted and then click on Apply twice and then followed by Finish button to create the schema.

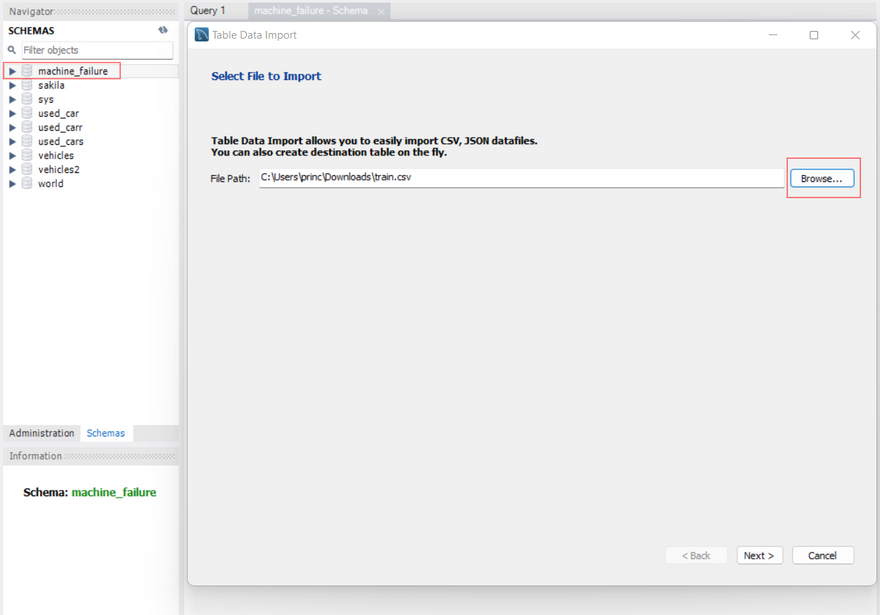
Step 4: Now let's create a table with the dataset we have. Right-click on the schema name and click on Table Data Import Wizard. On the next dialog box. click on Browse and select the CSV file that just downloaded above.
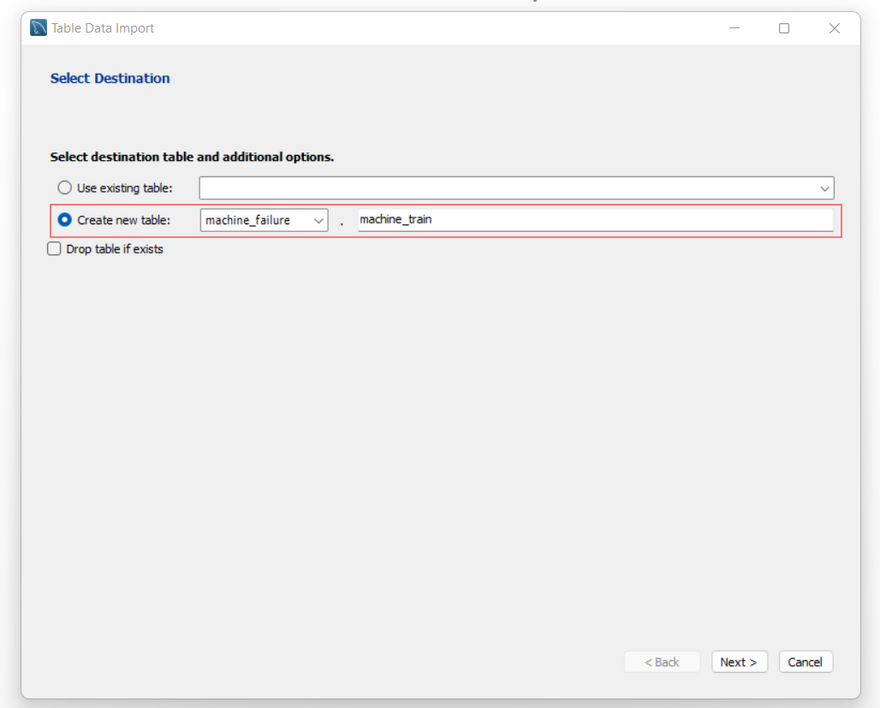
Now click on Next. On the Select Destination dialog box, select the Create New Table option, make sure that the selected schema is same as the one we created and assign a name to the table.
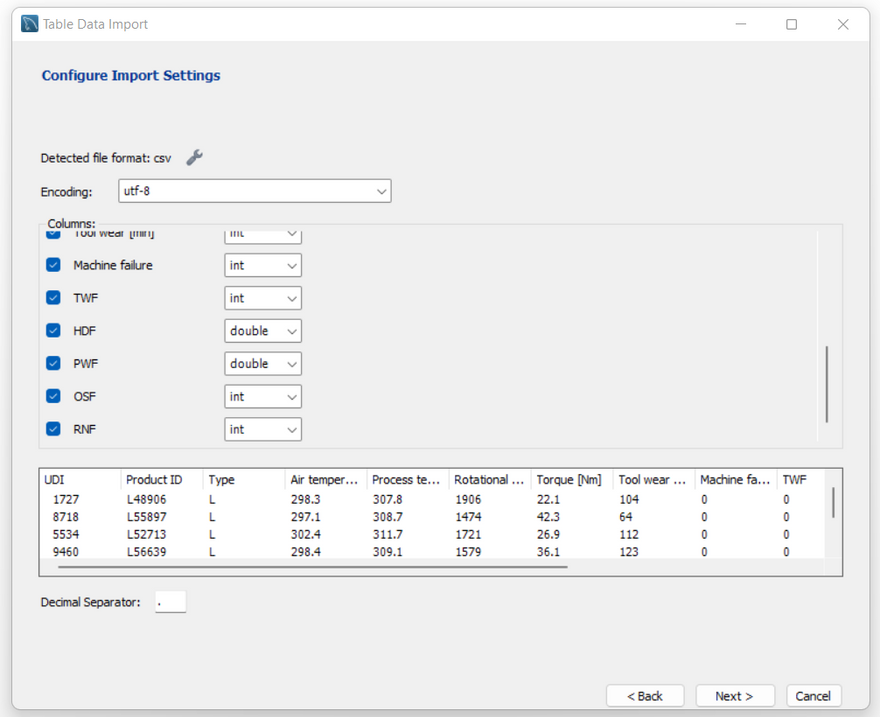
Again, click on Next. On the Configure Import Settings dialog box, leave everything at default and click on Next.
Now simply click on Next again to begin the import. Wait for the execution to complete. It should take a while based on the amount of data in the dataset.
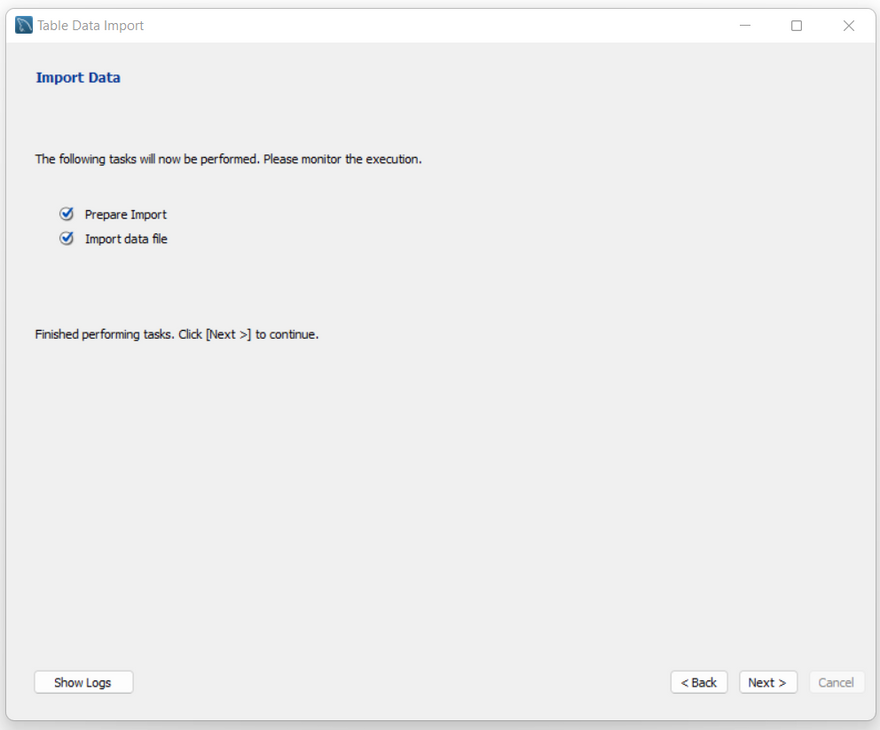
Once the execution is complete, click on Next and then click on Finish to complete the process.
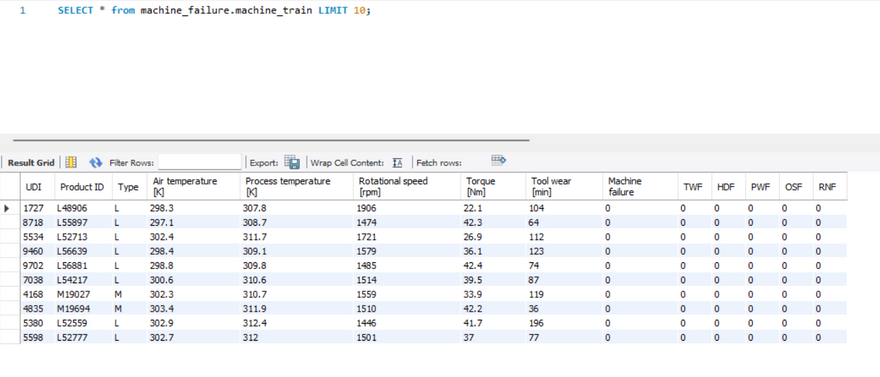
Step 5: We will now just check whether the data has been imported to the table properly or not by running a simple SELECT statement.
SELECT * from machine_failure.machine_train LIMIT 10;
This should return 10 rows of data from the table as shown below.
Now, that we are ready with the table, let's move on to the next phase of connecting to the MindsDB cloud.
Connecting the Database to MindsDB Cloud
In this section, we will connect our local database to the MindsDB Cloud to train the Predictor models later in this tutorial.
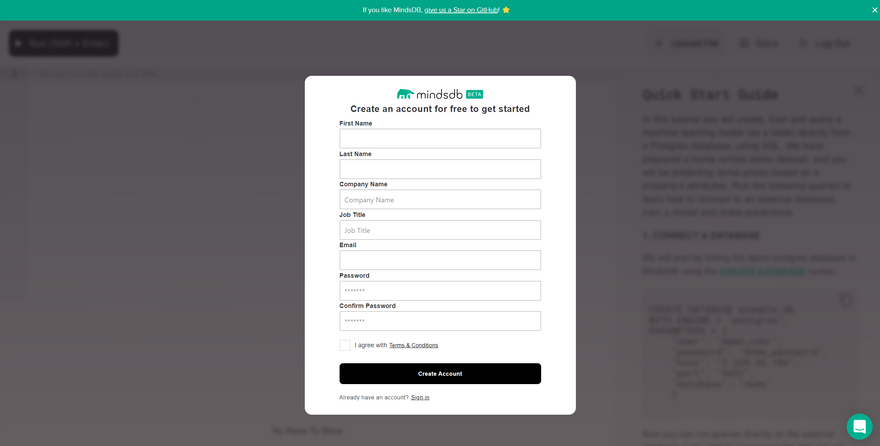
Step 1: Sign up for a MindsDB cloud account if you haven't already or you can use your existing credentials to simply log in.
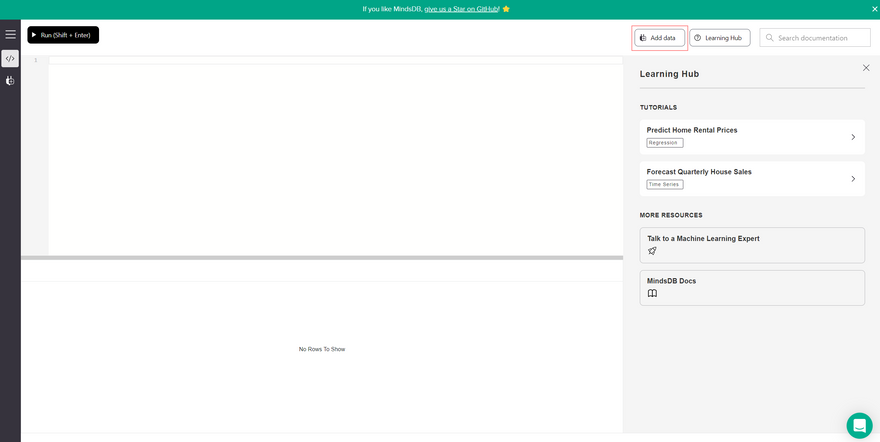
Step 2: Once you're in the MindsDB Dashboard, you can find a few sections on the screen like the Query Editor at the top, some Learning Hub resources on the right and a Result Viewer at the bottom. Click on Add data from the top right.
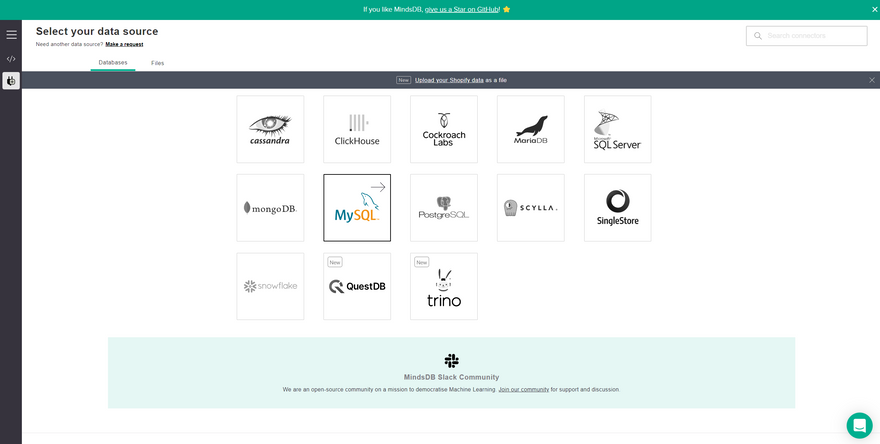
Step 3: Select MySQL from the list of available databases and this should open the Query Editor with a pre-defined query in it.
Step 4: In this pre-filled query, we need to provide certain parameters to establish a connection to our local database. In order to that, we need to expose localhost:3306 to the internet so that we can establish a tcp/ip connection to interact with it.
Step 5: We have to now use [ngrok](https://ngrok.com/) to tunnel our localhost to the internet. This command should do the job for you.
ngrok tcp 3306
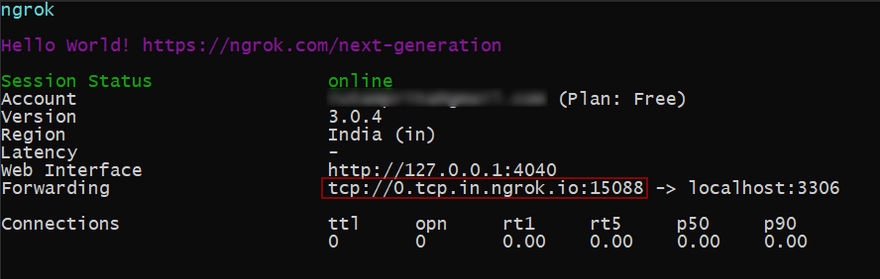
Make sure you signup for a ngrok account and connect with your account using the auth token you received after signing up so that you are not time-limited for your tunnelling. You can do the following using this command.
ngrok config add-authtoken YourAuthTokenHere
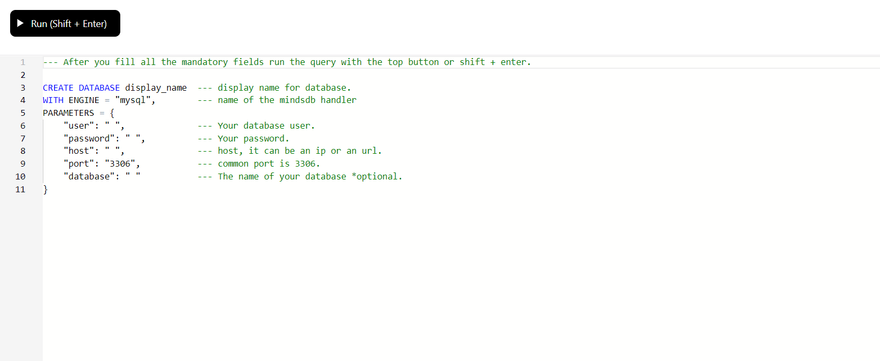
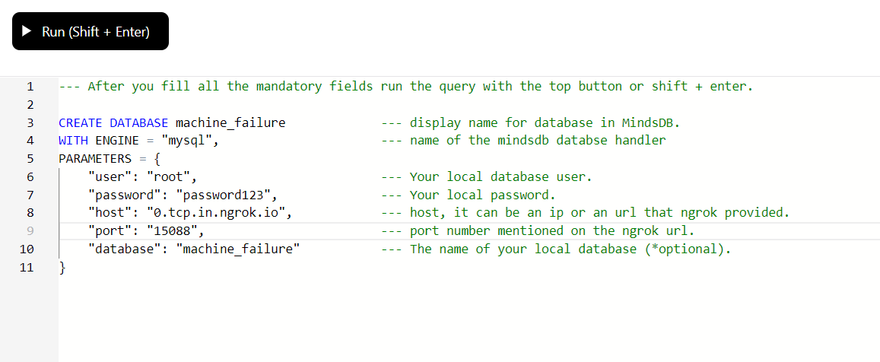
Step 6: We can now fill in the parameters in the query above to connect to the database and then hit the Run(Shift + Enter) button to fire the query. This query should execute successfully. Have a look at the snip below to learn more about each of the parameters.
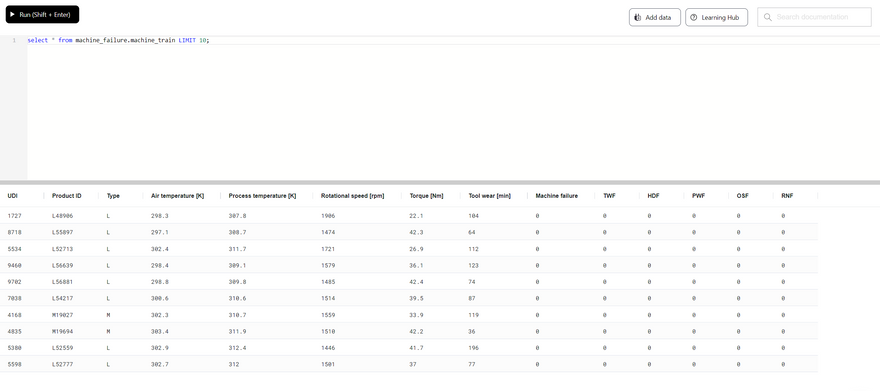
Step 7: Now let's run a simple SELECT query now to make sure that MindsDB can now access the data in the database.
select * from machine_failure.machine_train LIMIT 10;
This should return 10 records from the table machine_train.
Training a Predictor Model
As we are ready with all the data, we will now go ahead and create a predictor model to do the predictions for us. Let's find out how to do that in the steps below.
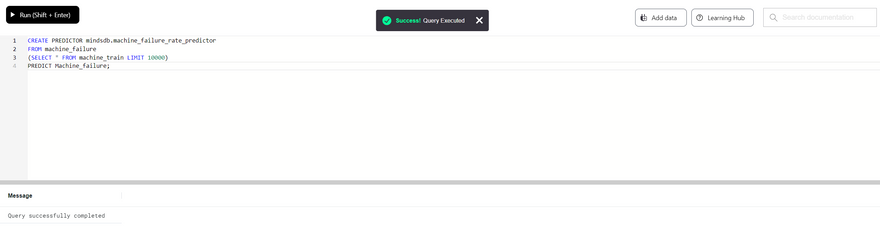
Step 1: MindsDB has a CREATE PREDICTOR syntax already that we need to use now to create the predictor model. Look at the snippet below to learn more about the syntax. The syntax looks as follows.
CREATE PREDICTOR mindsdb.predictor_name (Fill in the name you want)
FROM database_name                       (Fill in the Database Name)
(SELECT * FROM table_name LIMIT 10000)  (Fill in the training table name)
PREDICT target_parameter;               (Fill in the target parameter to Predict)
The query should get executed successfully.
Note: We have used
LIMIT 10000above as MindsDB allows upto 10K rows in its free edition.
Also, you may get an error as the column names have spaces in between them. So, try renaming the columns removing the spaces.
For e.g., Change the target column name fromMachine failuretoMachine_failureso that the query works properly.
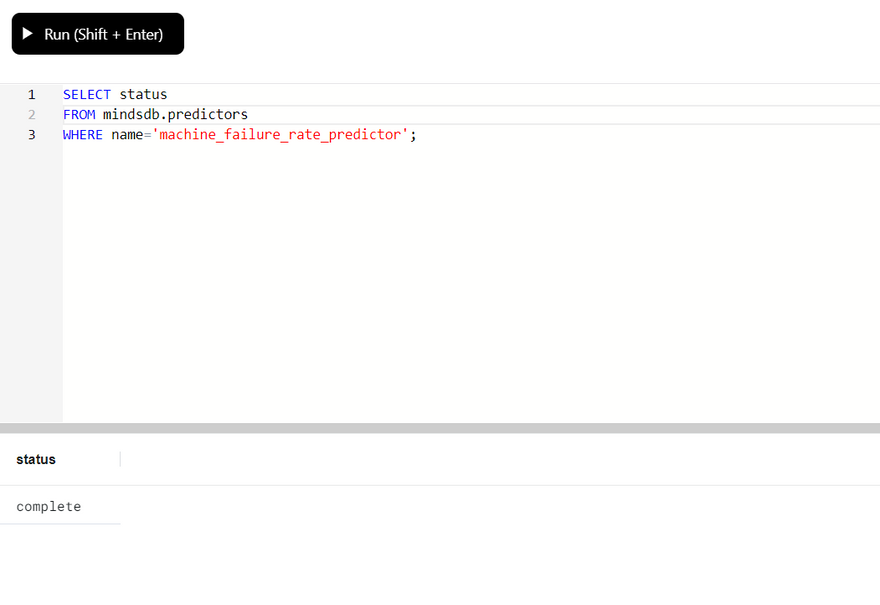
Step 2: It takes a while to train the model. We can keep checking it's status by running the command below.
SELECT status
FROM mindsdb.predictors
WHERE name='name_of_the_predictor_model';
The status should gradually change from training to complete indicating that the model is now ready to use.
Describing the Model
The predictor model is now ready to do the predictions, but we will first try to do a deep dive and learn more about this predictor model.
We can simply use the DESCRIBE statement provided by MindsDB to gain insights into our predictor model. We can use this statement to find the details in the following three ways.
By Features
By Model
By Model Ensemble
By Features
DESCRIBE mindsdb.predictor_model_name.features;
This statement is used to display the way that the model encoded the data prior to training. You can find a sample output below.
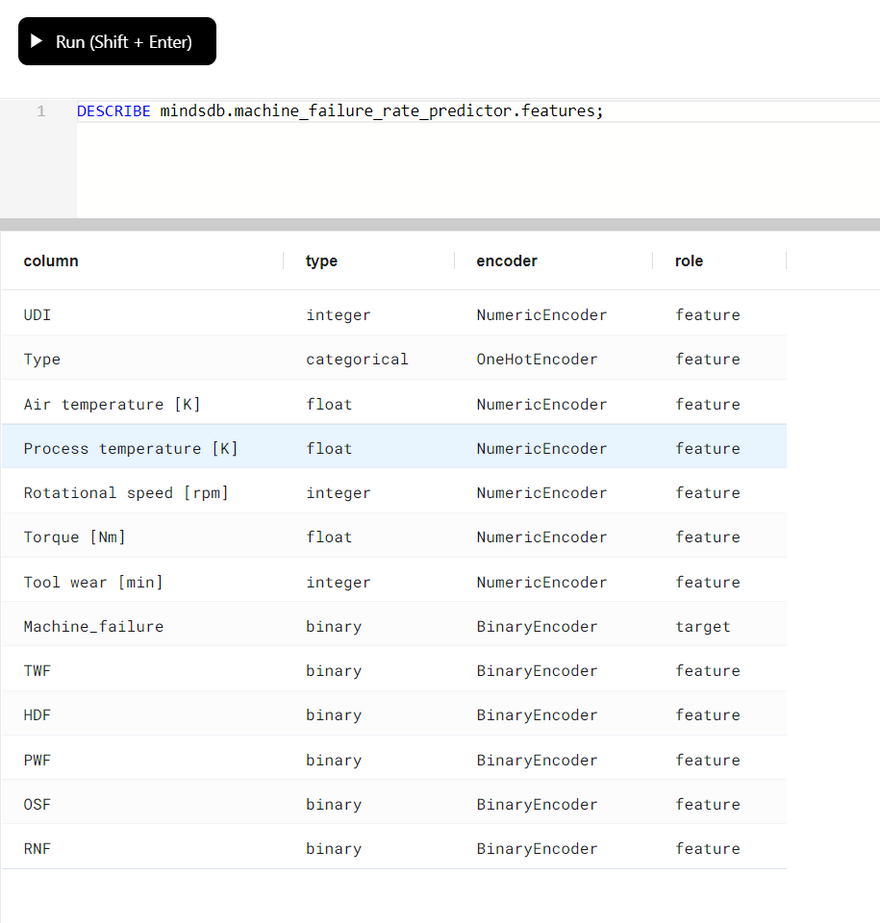
Let's figure out what each of these columns mean.
- column - List of all the columns used from the Training Table
- type - Type of data inferred
- encoder - Encoder used
- role - Role of the column for the model (Here Machine_failure is the target as we want to predict it and all other columns are Features based on which we will try to do the prediction.)
By Model
DESCRIBE mindsdb.predictor_model_name.model;
This statement is used to find out how each of the candidate models performed that we used to train the Predictor.
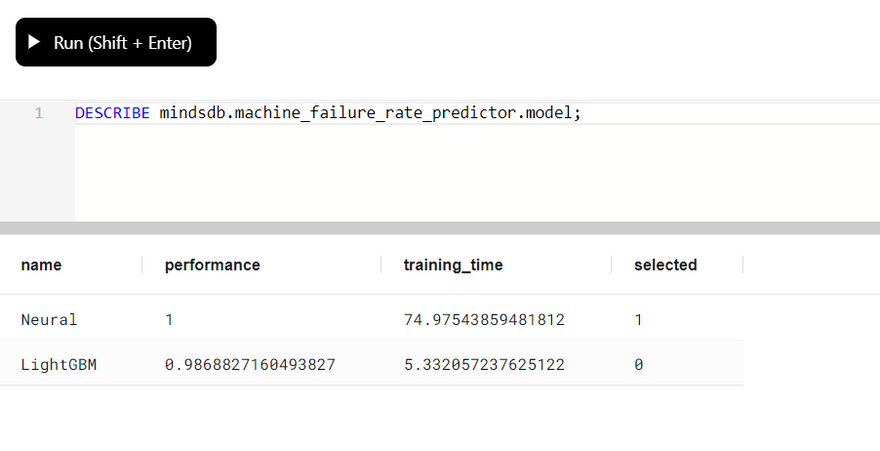
Now let's try to understand the result table below.
- name - Name of the candidate model
- performance - Defines the accuracy of each candidate model which varies between 0-1. The value that is closer to 1 is considered to be more accurate.
- training_time - Time taken by each of the candidate models to complete the training
- selected - Either 0 or 1 is set for each candidate model. 1 is set for the most accurate model (Neural here) and the rest all are set at 0.
By Model Ensemble
DESCRIBE mindsdb.predictor_model_name.ensemble;
This statement shall return a JSON object that explains the different attributes used to select the best candidate model to do the prediction.
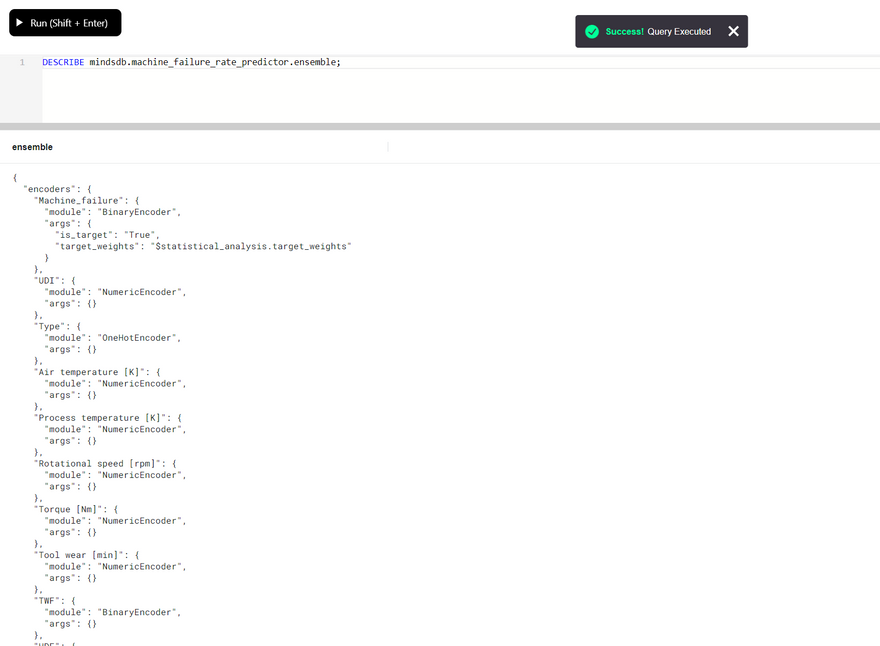
With this, we now have a clearer picture about our underlying model that we will be using for the predictions below.
Querying the Model
The predictor model machine_failure_rate_predictor is now ready to predict the machine failure rates for us. MindsDB provides simple SELECT query statements that we can fire to find the predictions based on the specified features.
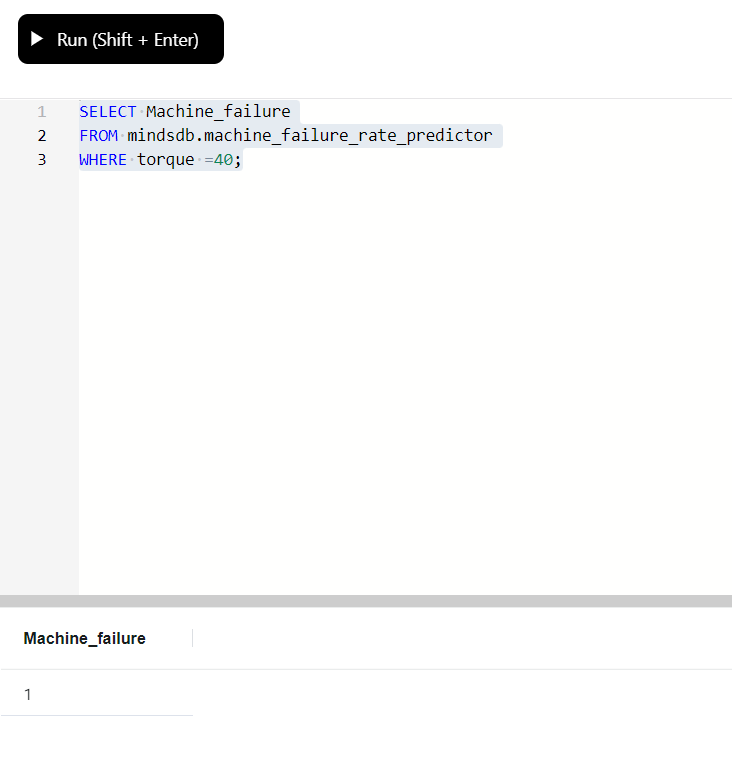
Let's try predicting the failure rate based on a single feature. The SELECT statement would be as follows.
SELECT Machine_failure
FROM mindsdb.machine_failure_rate_predictor
WHERE torque =40;
This should return the Machine_failure rate which would either be 1 or 0. 1 means the machine failure is expected whereas 0 means there won't be a machine failure for the given feature.
Now let's try predicting the failure rate with more than one parameter. The query should look something like this.
SELECT Machine_failure
FROM mindsdb.machine_failure_rate_predictor
WHERE torque =100 AND Type="L";
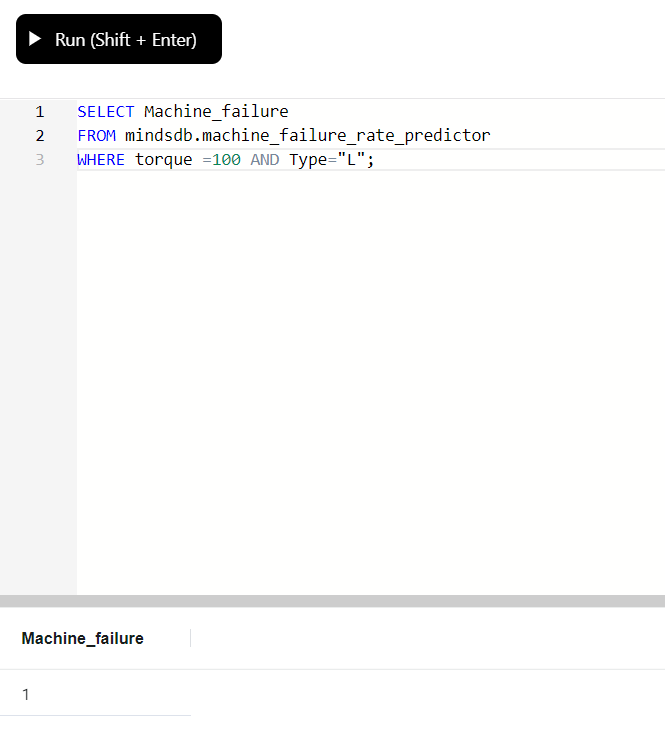
This, again returns either 0 or 1, determining whether the machine fails or not based on the provided feature parameters.
Conclusion
We have now reached the end of this tutorial where we connected our local database to the MindsDB cloud, trained a predictor model using MindsDB by firing a few simple SQL queries and predicted the machine failure rates using the model that we created.
Now you can also go ahead and try training predictor models and doing predictions using different datasets available online.
Before you leave this page, please like the tutorial if it has really helped you to learn something new today. Feel free drop in your feedback as well.
Note: All the dashboard images used here are sole properties of MindsDB & MySQL and are used here only for illustrative purposes.


Top comments (2)
Love this!! Well done
Wow, awesome tutorial, @rutamhere!