Introduction
MindsDB comes quite handy when we want to work with our existing databases and enable machine learning capabilities with our available datasets. With the use of MindsDB, we can easily train machine learning models and make predictions directly within the database. In short, we can say MindsDB embeds Data Science in our traditional databases to make them smart and enable us to extract meaningful insights.
MindsDB offers a cloud version which we can use completely online, or we can use self-hosted version using Docker or Pip. You can also opt for its free (Limited to 10K rows in the training dataset) or paid version as per your requirements.
Today in this tutorial, we will be using the MindsDB Cloud to train a Predictor model that can predict the salaries for different Data Science jobs based on several feature parameters.
Importing data to MindsDB Cloud
We will need a dataset initially that contains salaries of data science positions based on several candidate parameters. You can download a copy of the dataset here.
Once you have downloaded the dataset, simply extract it and save the CSV file for later use.
Now let us get started with our MindsDB Cloud account to take things further.
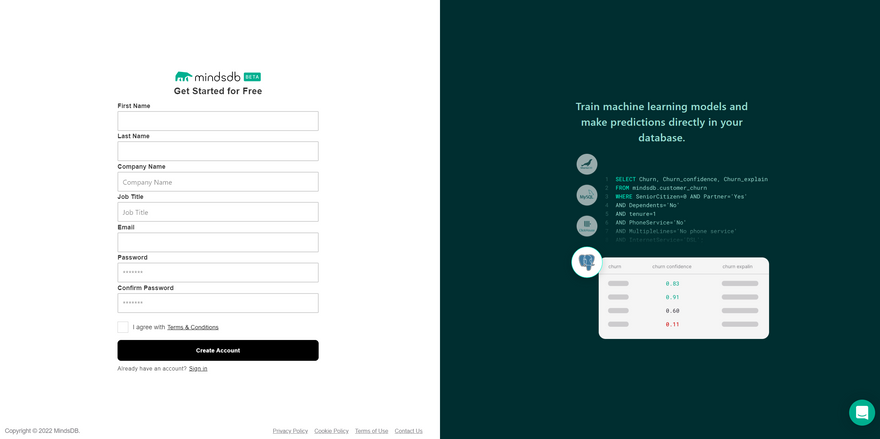
Step 1: Login to your existing MindsDB Cloud account or signup for a new one here.
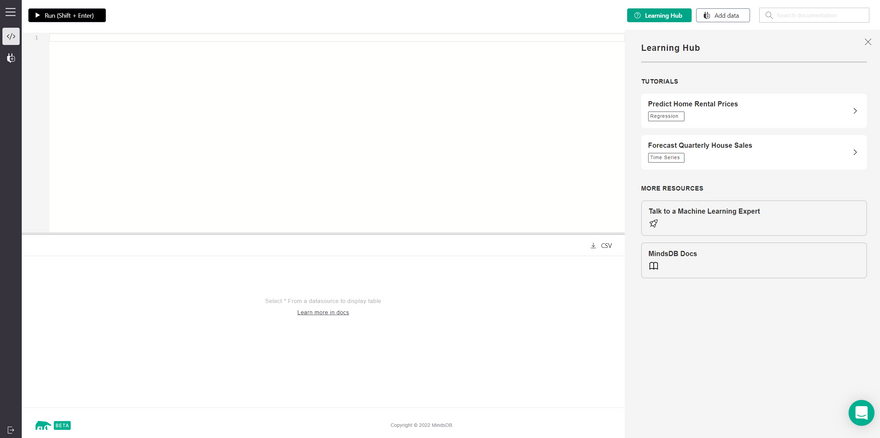
Step 2: Once you have signed up or logged in to your MindsDB cloud account, you can find the MindsDB Cloud Editor opened up for you.
The top panel is for writing the query, the bottom panel is for displaying the results and the right panel lists out some of the learning hub resources to make things easier for the new users.
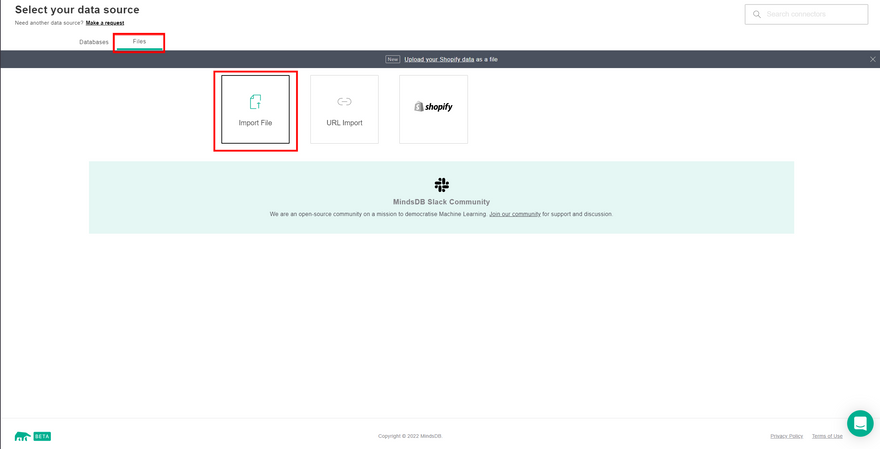
Step 3: Now simply click on Add Data from the top right and on the next screen that appears, switch over to Files instead of Databases and then click on Import File.
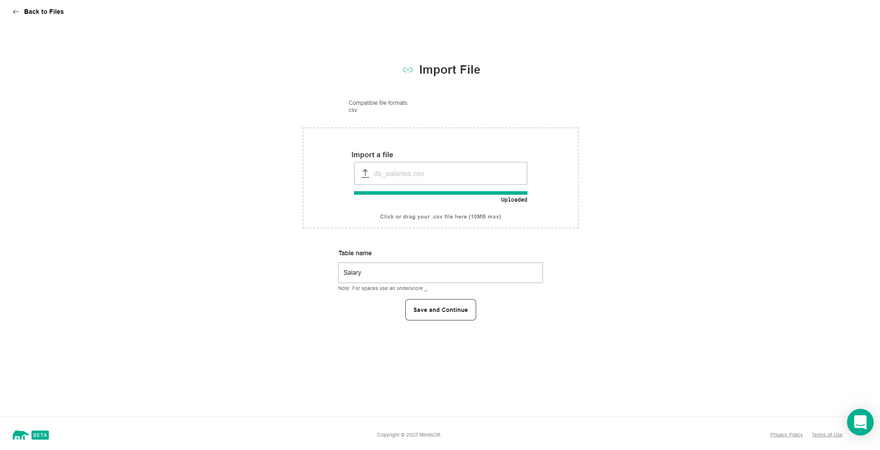
Step 4: Now on the Import File dashboard, browse the dataset file from your computer, set a name for the Table and then hit the Save and Continue button. This should easily upload the dataset file for you and create a Table with the name you provided.
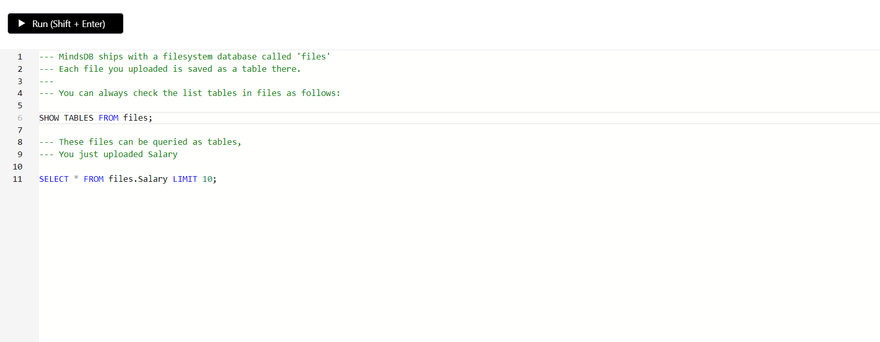
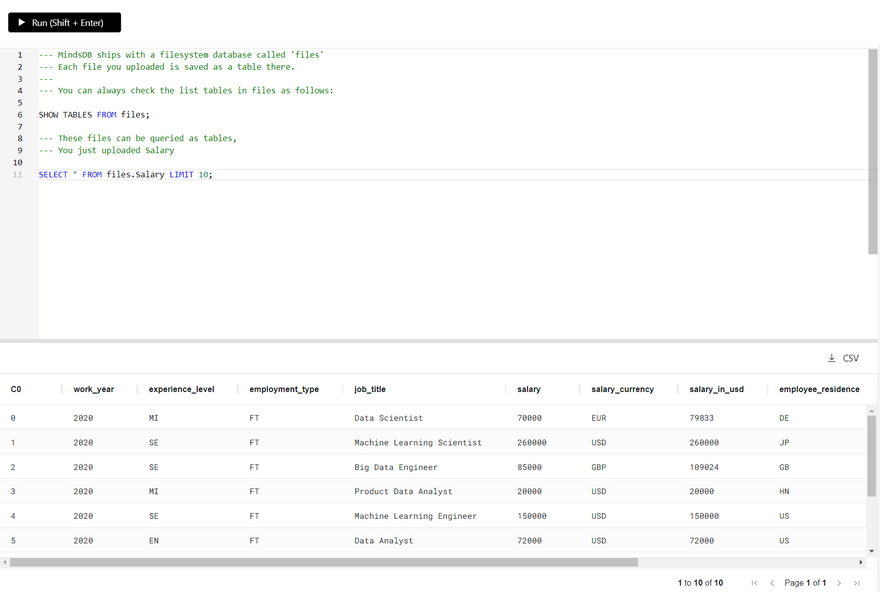
Step 5: Now the GUI returns back to the Editor screen where you can find two generic queries mentioned to either list the tables or query the data in the table that you just uploaded. Let's run both of these queries and check through the results.
Now the second query returns the following result.
We are now ready to create a Predictor model using our Salary table that we just uploaded.
Training a Predictor Model
MindsDB makes it extremely easy to define a Predictor model and train it by using a simple SQL syntax.
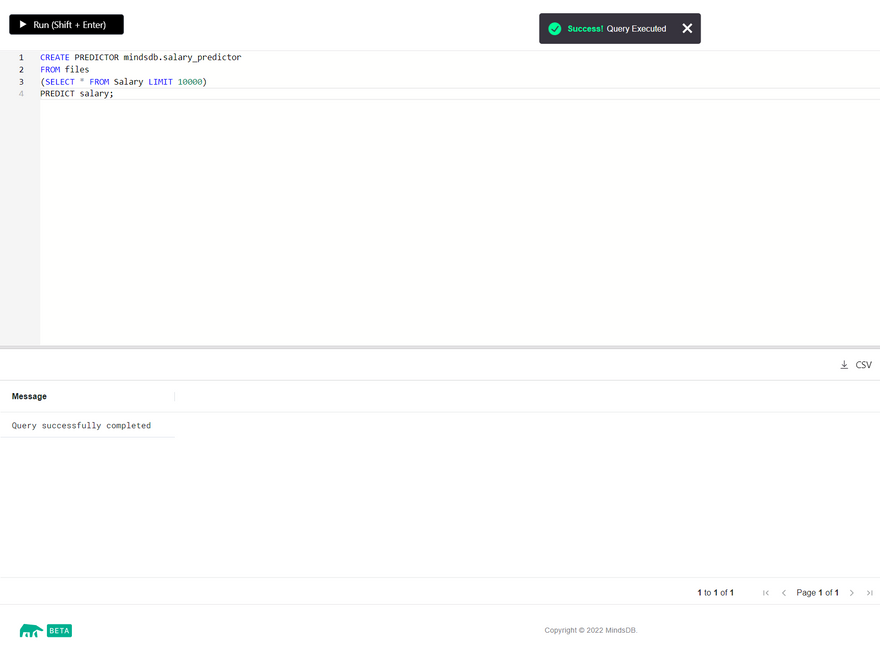
Step 1: We will now use the CREATE PREDICTOR syntax to create the Predictor. Find the syntax below to learn more about it.
CREATE PREDICTOR mindsdb.predictor_name (Your Predictor Name)
FROM database_name                      (Your Database Name)
(SELECT * FROM table_name LIMIT 10000)  (Your Table Name)
PREDICT target_parameter;               (Your Target Parameter)
This query should get executed and return successful in the Result Viewer.
Note: We have used
LIMIT 10000here as we are using the free version of MindsDB and it supports upto 10K rows and will error out if we have more rows.
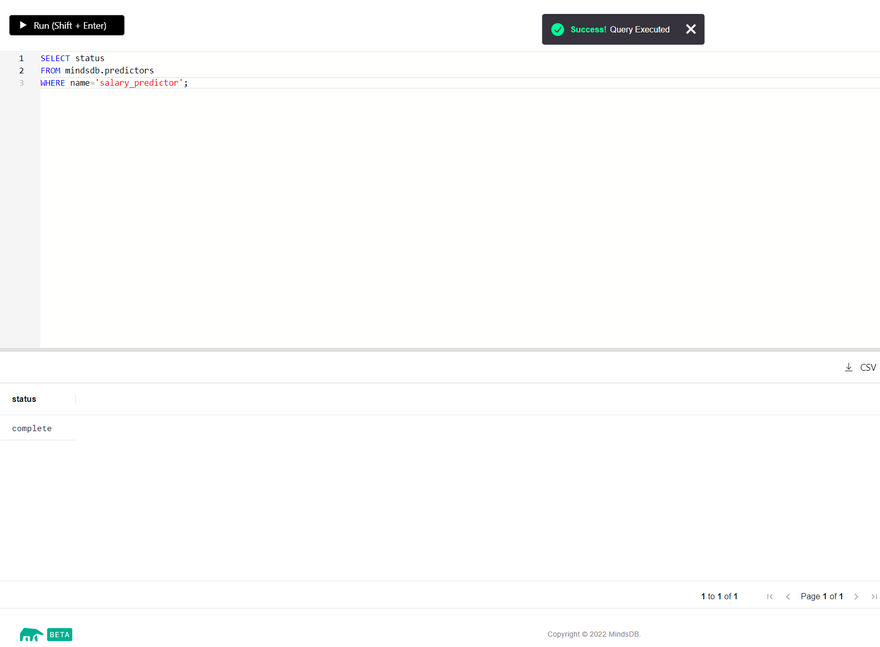
Step 2: The model should take a little while to get created and trained. We can check the status of the model using the syntax below. If the query returns Complete, then the model is ready to use or else wait if it returns Training status.
SELECT status
FROM mindsdb.predictors
WHERE name='name_of_the_predictor_model';
Describing the Predictor Model
MindsDB provides a DESCRIBE statement that we can use to gain some insights into the Predictor Model. We can find more details about the model in the following three ways.
- By Features
- By Model
- By Model Ensemble
By Features
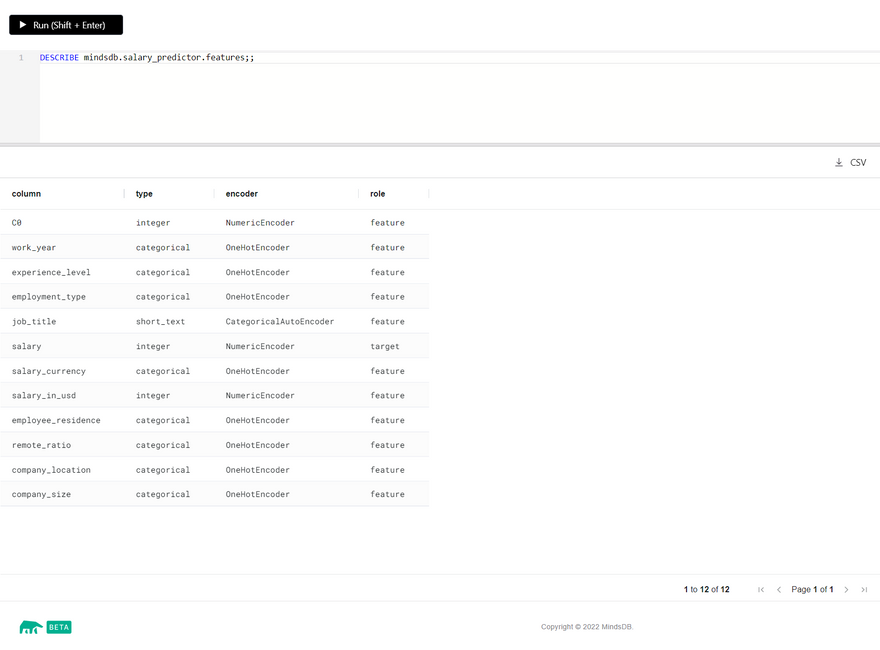
DESCRIBE mindsdb.predictor_model_name.features;
This statement is used to find out the type of encoders used on each column to train the model and the role of each of the columns for the model. A sample output for our model is posted below.
By Model
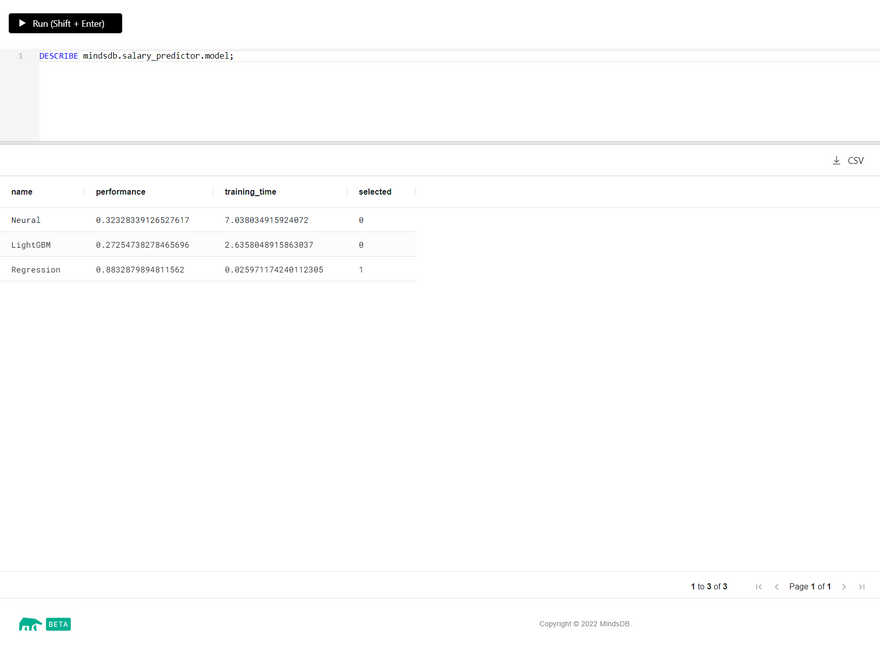
DESCRIBE mindsdb.predictor_model_name.model;
MindsDB uses several candidate models internally to train the data and then picks up the most optimized one for the model to do the predictions. This statement simply lists out all the candidate models used to train the data along with other details. The model with 1 in its selected column is the one that is the most optimized and accurate.
By Model Ensemble
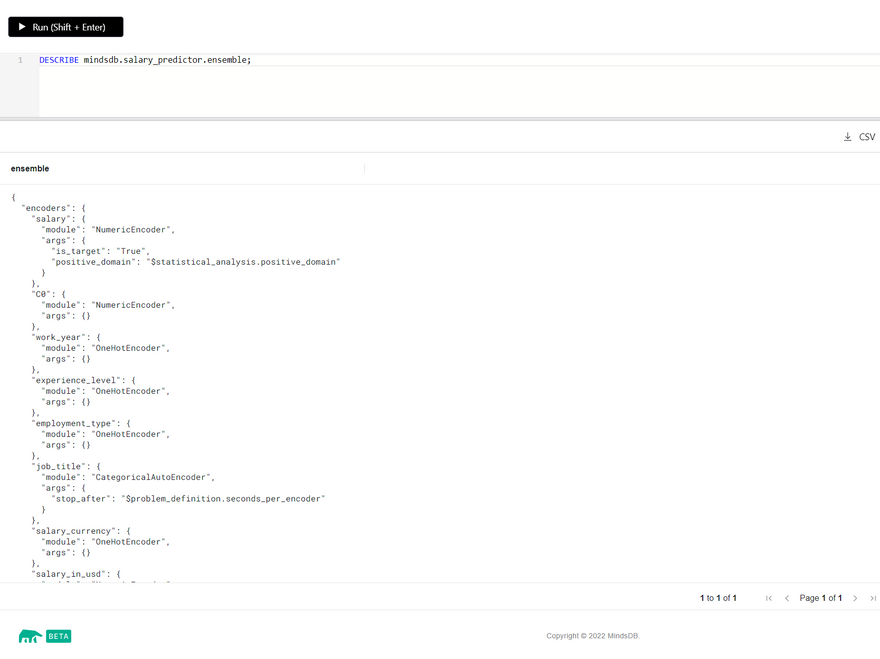
DESCRIBE mindsdb.predictor_model_name.ensemble;
With this statement, we can simply query out a JSON object that lists out the multiple attributes used to select the best candidate model to do the predictions finally.
Querying the Model
Now that we are ready with our Predictor Model, we can simply execute some simple SQL query statements to predict the target value based on the feature parameters.
We will get started by predicting the Salary based on only one feature parameter and the query statement should look something like this.
SELECT salary
FROM mindsdb.salary_predictor
WHERE experience ='SE';
This should return the expected salary for the person with the experience level of SE.
Let's now try predicting the salary based on multiple feature parameters. The query should look something like this.
SELECT salary
FROM mindsdb.salary_predictor
WHERE experience ='EN' and job_title='Data Analyst';
This should return the expected salary for the person with the experience level of EN with the job title of Data Analyst.
Conclusion
With this we have reached the end of the tutorial. In this tutorial, we created our own MindsDB Cloud account, uploaded a dataset to the cloud interface, trained a predictor model with our dataset and finally predicted the salaries of different Data Science jobs.
It is really easy to go out yourself and try training your own predictor models using datasets available online through MindsDB. So, go ahead and give it a try and do all the predictions you want.
Lastly, before you leave this page, drop a LIKE if you learnt something new and interesting today and also don't forget to key in your feedback below.



Top comments (0)