Introduction
MindsDB is unique in its approach as it turns the normal tables in our databases into AI-Tables. It simply powers the In-Database machine learning as it is capable of pulling data from your tables and then feeding them into in-house machine learning models to fetch you some of the most accurate prediction tools instantly.
And what's even more awesome is its simplicity. You can simply train and use multiple prediction tools by using standard SQL queries and you don't really need to bother about the underlying programming.
So, in this tutorial, we will try to deploy MindsDB on a Vultr Cloud Instance and try to connect with it from one of our local database managers called DBeaver.
Deploying a Vultr Cloud Instance
Vultr provides cloud computing solutions globally with its multiple data centers spanning several geographical regions ensuring a standardised highly reliable and high performance cloud computing environment.
Now let's dive in and create a Cloud Instance in the Vultr Platform.
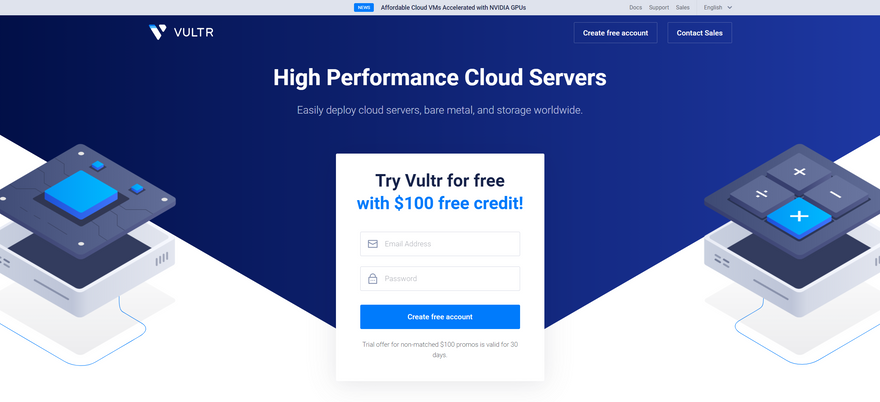
Step 1: Sign up for a Vultr account if you haven't already or simply log in using your existing credentials. Vultr offers 100$ worth of credits to try out the platform for 30 days.
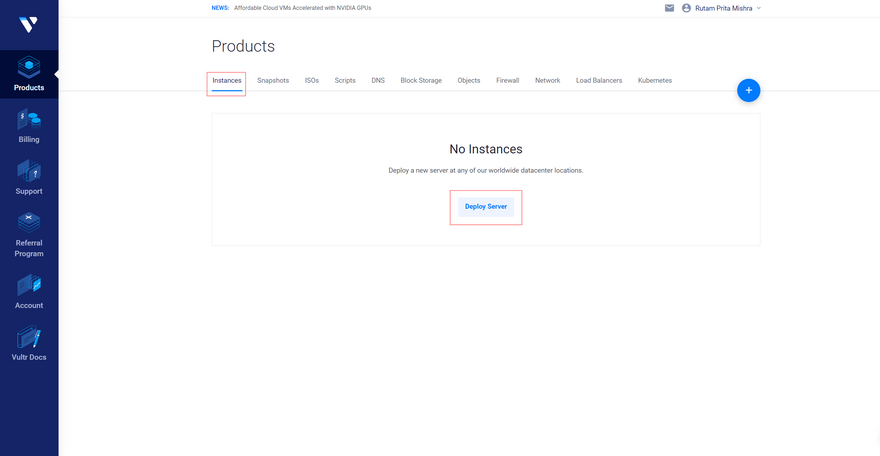
Step 2: Once you have signed in, you will land on the Dashboard. Select the Instances tab and click on Deploy Server. This should take you to the Deploy New Instance screen.
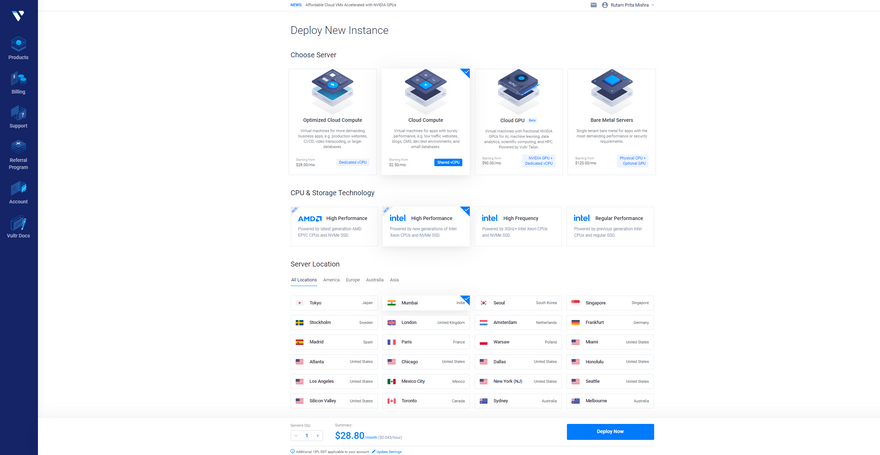
Step 3: On this screen, we need to choose the specs for the compute instance that we will be creating. You are free to choose them as per your needs but for the purpose of this tutorial, you can always go ahead and use the config mentioned below.
- Choose Server: Cloud Compute
- CPU & Storage Technology: Intel High Performance
- Server Location: Choose the closest one (Mumbai for me)
- Server Image: Navigate to Marketplace Apps. Select Docker on Ubuntu 20.04 x64 Image
- Server Size: $24/month (100GB NVMe/ 2 vCPUs / 4GB Memory)
- Add Auto Backups: You can either leave it turned on or turn it off (It will cost you extra bucks.)
- Additional Features: You can check any of the features if you need them. However, we can skip it for this tutorial.
- SSH Keys: Leave it as it is. We don't need to add any SSH keys as well.
- Server Hostname & Label: Assign a Server Hostname as you wish
- Server Qty: Leave it at 1
Now we are done with selecting all the specs for the server and can simply hit the Deploy Now button to get it booted.
Step 4: We have to now wait for the installation to complete and the status of the server should be set to running on the next page.
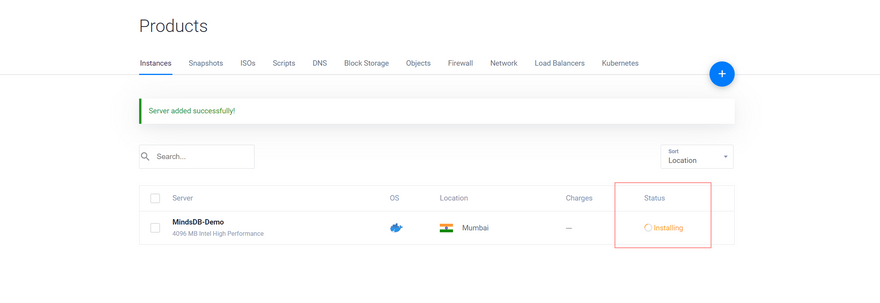
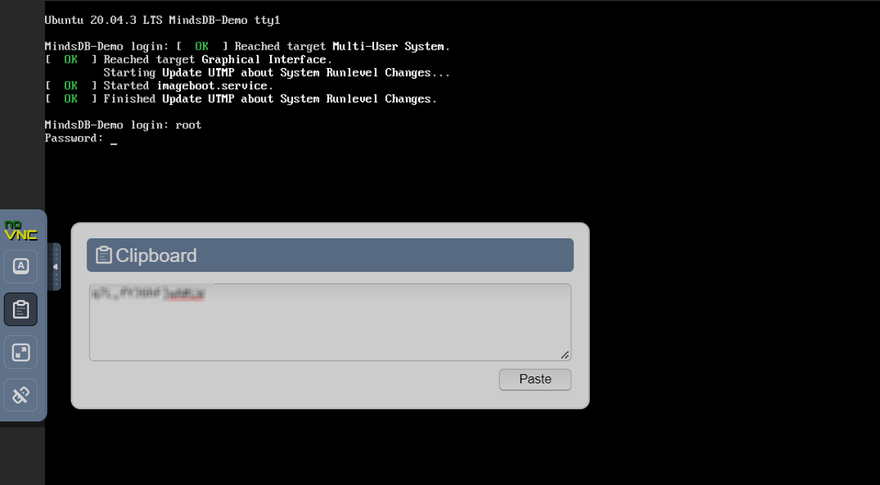
Now once we get the status as running we can simply click on the server name and navigate to the Server dashboard where we can find all the details about the server and can then click on View Console to get started with the terminal and carry on the further steps.
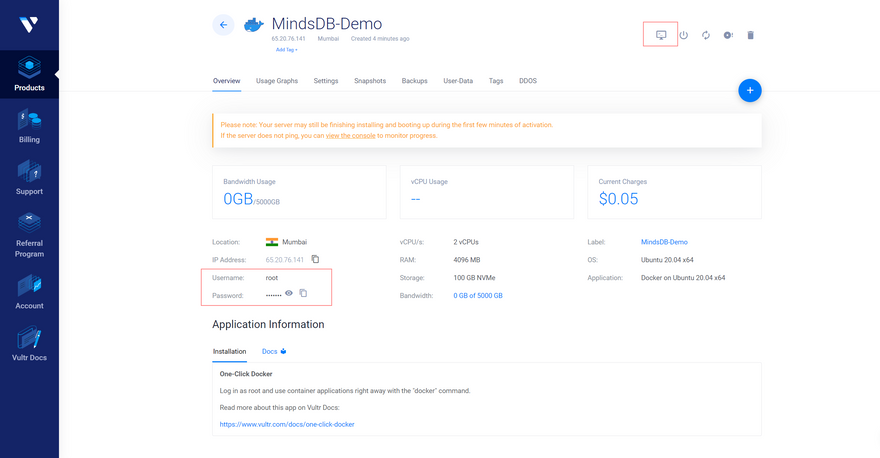
Make sure to note down the username and password from the server dashboard screen as we will be needing them to log in to our system using the terminal.
Installing MindsDB on the Server
We have now set up a cloud instance that is up and running and we are ready to install MindsDB on top of it using Docker. So, let's get started with this.
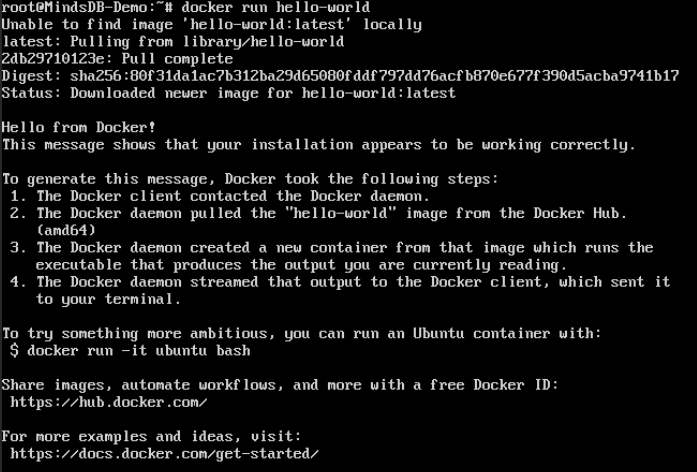
Step 1: Before we start, let's check whether Docker is installed properly or not using the command below.
docker run hello-world
It should successfully run and return the message Hello from Docker. This confirms that the Docker is working properly on our instance.
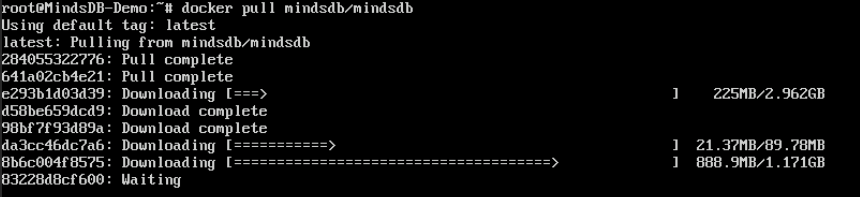
Step 2: We can now run the following command using Docker to pull the latest stable MindsDB image into our server.
docker pull mindsdb/mindsdb
We can also fetch the latest Beta version image using the command below.
docker pull mindsdb/mindsdb_beta
Note: The MindsDB Getting Started documentation provides more such ways to install MindsDB other than Docker as well.
Step 3: We have to now expose the specific ports that will be needed to communicate with the MindsDB instance on the cloud from our local database manager. Use the following command to do the same.
docker run -p 47334:47334 -p 47335:47335 mindsdb/mindsdb
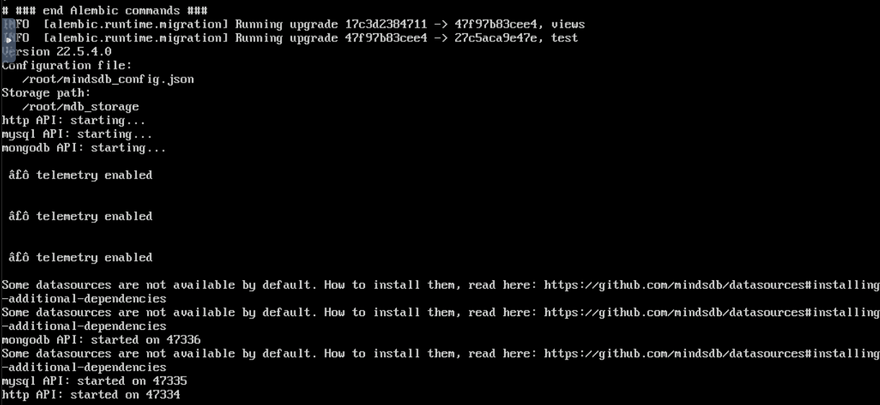
Port 47334 - It is used to host the MindsDB GUI. You can always use your
CloudInstanceIPv4:47334to access the GUI in the browser.
Port 47335 - It will be used as the MySQL communication port to carry out database transactions over TCP/IP.
Connecting with DBeaver (Local Database Manager)
We will now try to connect to the MindDB cloud instance using DBeaver DB manager and check the tables present inside the MindsDB instance. You can also check here to find out the steps for connecting to the cloud instance using some other database client.
Step 1: Once you've installed DBeaver on your local system, you can open it up and click on New Database Connection to setup the connection wizard.
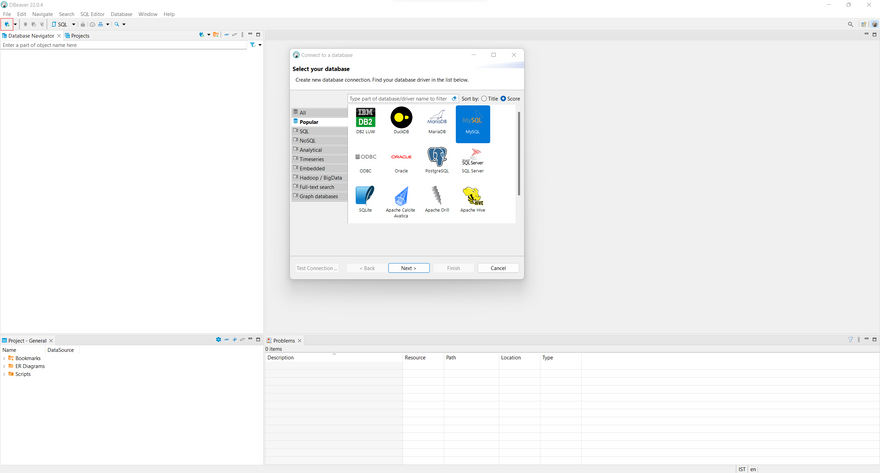
Step 2: From the new connection wizard, select MySQL as the database and click on Next. On the next screen, we need to provide the connection parameters so that we can establish the connection. The following are required to complete the connection successfully.
- Server Host: Your Server IPv4 only
- Port: 47335 (Default Port for MySQL)
- Username: mindsdb (Default Username)
- Password: Leave it empty (Default Password is empty.)
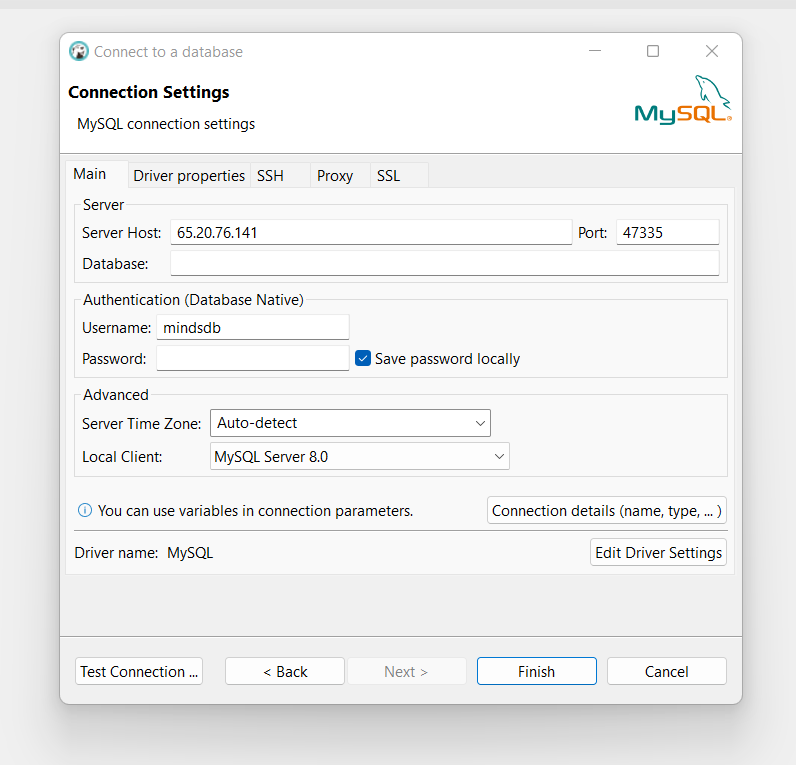
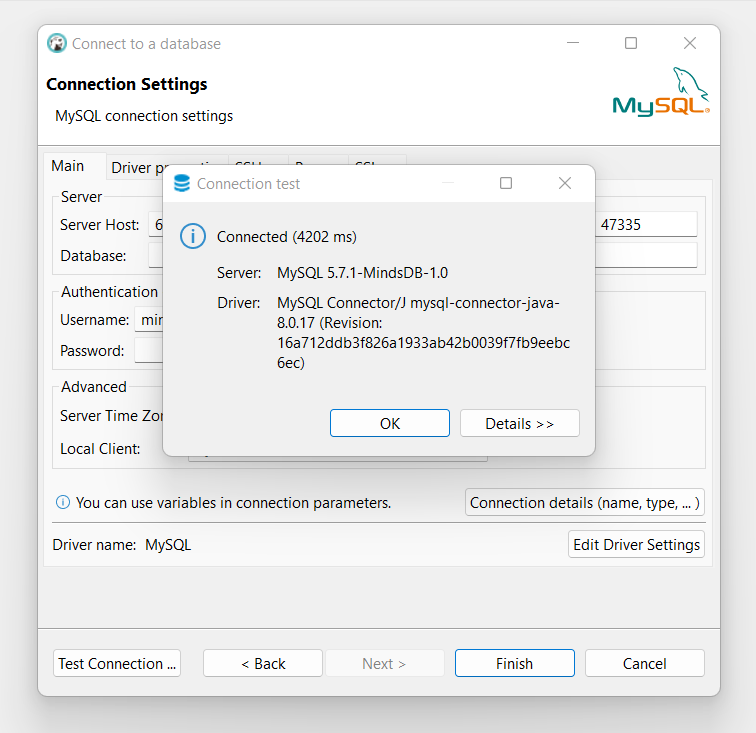
Now hit the Test Connection button. This should return success. You can now click on Finish to save the connection.
Note: You may sometimes require to download some additional driver files in DBeaver before you can establish a connection. So, make sure to select all the recommended driver files and download those as and when prompted.
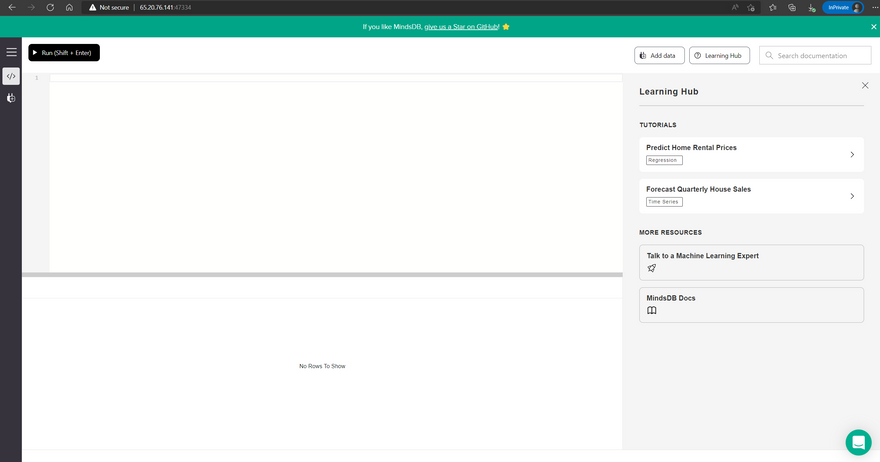
Also, with the latest release, MindsDB instance has its own SQL Editor that we can use to run the queries and train the models.
Exploring Tables inside MindsDB
As we are now connected with the MindsDB instance, we can either use the file explorer on the right side of DBeaver to explore the tables inside the instance or can otherwise use SQL queries to filter out the required data.

We can also use the following query to fetch the list of tables present.
show tables;
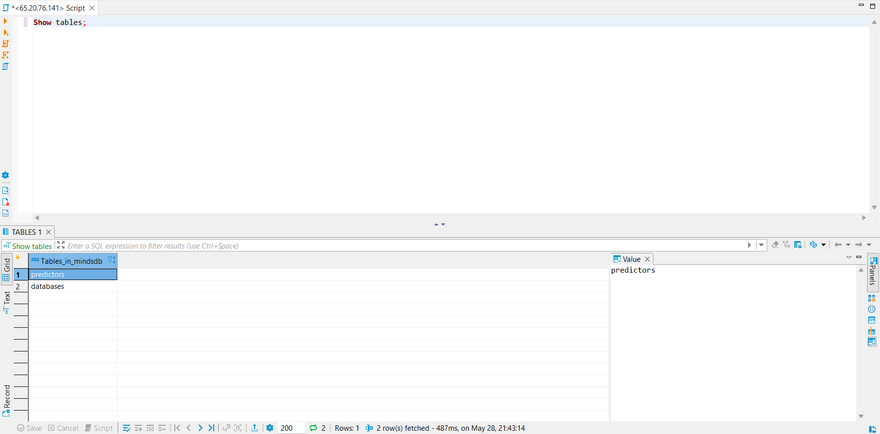
The Predictors table is used to store the predictor models when we train them whereas the Databases table contains the list of databases connected with our MindsDB cloud instance. Each new predictor model is stored as a new record in the table and each of its columns contain specific information about that model.
Conclusion
With this, we have successfully completed all the steps that are required to host a local instance of MindsDB on our preferred cloud partner Vultr. We have also learnt how to connect to our cloud-hosted instance using any local database manager. Additionally, we can also sign up and use the MindsDB web version for free.
Lastly, if you liked the article and found this helpful, don't forget to drop a like. Feel free to drop in your feedback as well.
Note: All the dashboard images used here are sole properties of MindsDB, DBeaver and Vultr, and are only used here for illustrative purposes.


Top comments (0)