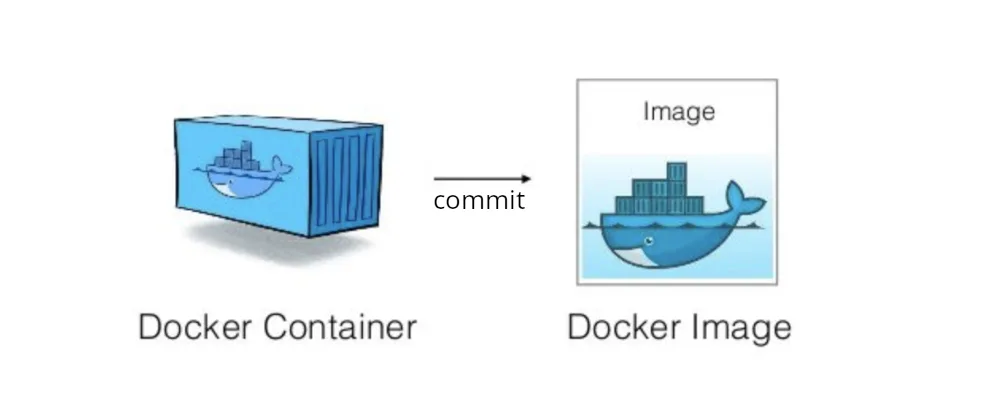
We can convert a specific container into a base Docker image, but that's not the recommended way to create images because these could include useless cached or session data.
The easiest way to control the data stored in the Docker layers is using the Dockerfile.
🧠 Remember that a Docker image has a read-only filesystem based on layers which works as a template to start containers in a preinstalled environment, and a Docker container uses this "template" to run isolated applications into a virtualized run-time environment with a normal filesystem.
Is this necessary to create images with non-root users?
No, you can run commands with other users using the Dockerfile as well. You can see an example here.
Adding a port forwarding rule to a container
When you are testing a random software within a container you might need to publish a port on the host OS, or into another computer. In this case you can't add a forwarding port rule to an already existing container, so here is when docker commit comes to save us:
$ docker commit my_container my_image
$ docker run -p 8080:80 -it my_image
Now we can access to the port 80 in the container using http://localhost:8080 in the host OS.
docker commit can also be used to attach new volumes to the container.
The size is important
Remember that it's a good practice to keep your Docker images as minimalist as possible. Also the reproducible way to create and ship images is the Dockerfile.
💡 You can inspect the layers of a Docker image using Dive, to optimize the size of your images.


Top comments (0)