Today we’re going to explore how to use Postman to navigate the New Relic GraphQL API, Nerdgraph, and use it to explore your telemetry data, update your account, and a lot more. Postman provides a lot of support for building with APIs and with the recently released New Relic public API collection, you can leverage that support to supercharge your usage of New Relic’s GraphQL API.
What is Nerdgraph?
Nerdgraph is New Relic’s GraphQL API, and with it, you can get all the information you need with a single query. GraphQL is a query language for APIs that allows you to compose flexible requests to an API in a less structured manner than with the standard REST API. For example, you may wish to get summary data on your application performance monitoring (APM) entities. To do so, you can send the following GraphQL request to Nerdgraph:
{
  actor {
    entitySearch(query: "name like 'nerdgraph' and domainType = 'APM-APPLICATION'") {
      results {
        entities {
          name
          ... on ApmApplicationEntityOutline {
            apmSummary {
              errorRate
              apdexScore
              webResponseTimeAverage
              responseTimeAverage
            }
          }
        }
      }
    }
  }
}
You can even use NRQL, New Relic’s query language inside a Nerdgraph request for truly customized results. In this example, you are requesting all transaction data within the past hour:
{
   actor {
      account(id: YOUR_ACCOUNT_ID) {
         nrql(query: "SELECT count(*) FROM Transaction SINCE 1 HOUR AGO") {
            results
         }
      }
   }
}
While GraphQL can be a very powerful tool in working with your New Relic data, you may not know right away what to put in a query or how to structure one. The New Relic Nerdgraph documentation and the New Relic GraphQL explorer are excellent places to begin when learning how to use queries.
Use the new Nerdgraph API collection with Postman
We’ve added a new resource for you to learn about queries with the new Nerdgraph API collection on Postman.
What is Postman?
Postman is a tool that helps you use and build with APIs. It enables seamless collaboration and experimentation in a graphical interface that is friendly for both the newcomer and the veteran to API development. An API collection in Postman is a group of saved requests and descriptions that are editable and customizable by the user. API collections in Postman come with benefits such as error detection in query formulation, auto-suggestions, the ability to define variables to use across requests, and more.
Let’s take a look at how the new Postman API collection for Nerdgraph can help you in your work with New Relic.
One of the major benefits of using the Postman Nerdgraph API collection is that you get auto-complete support for your queries right away. For example, if you are querying for your account data, as soon as you begin typing, Postman suggests next steps for you.
The example video below demonstrates this, click on the link to see it in action!
How does the auto-complete work so well? Postman refreshes the schema from New Relic’s Nerdgraph automatically for you, so that you always have access to the most up-to-date suggestions when using the New Relic API collection.
Get started with the Postman Nerdgraph API collection
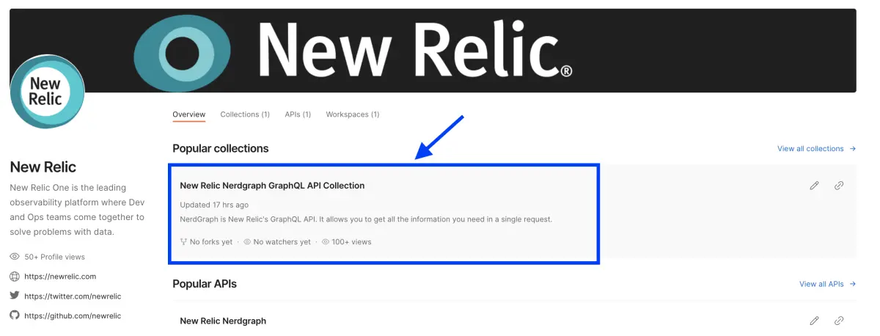
First, visit the API collection homepage at https://www.postman.com/new-relic. From there, you can select to the API collection, which will open either in your browser or inside your Postman client.
Next, provide your API key to your copy of the collection. You can find your API key in New Relic One under the API Keys section.
Then, create a Postman Environment and define it as a variable. We’ve already set up a recommended variable name for you to use inside the collection: new_relic_api_key, so you need only to define its value inside your new Environment.
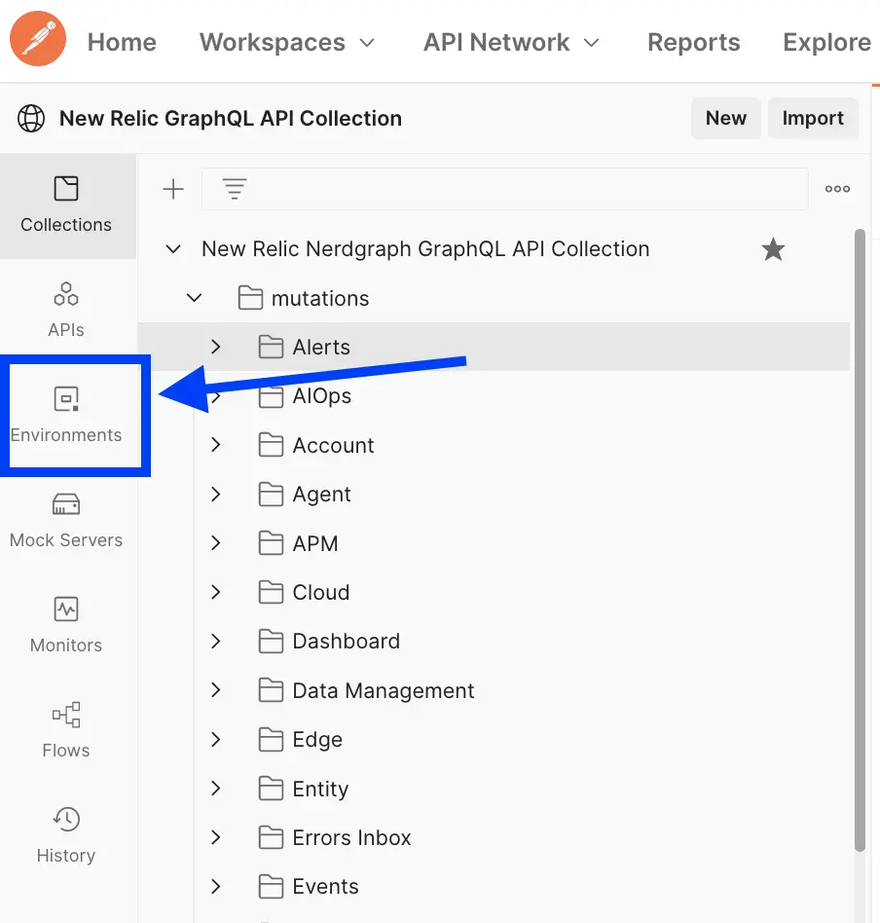
To create a new Postman Environment, select the Environments button in the right-hand side navigation menu.
You’ll also need to define the API key as a variable inside your new environment. Enter the name as “new_relic_api_key”, select “secret” as the type in the dropdown, and provide your API key in the current value field.
There’s an important distinction between the current and initial value fields. The initial value is synced with members of your team who share the Postman workspace, so if you don’t want to share your API key across your team, fill out only the current value field.
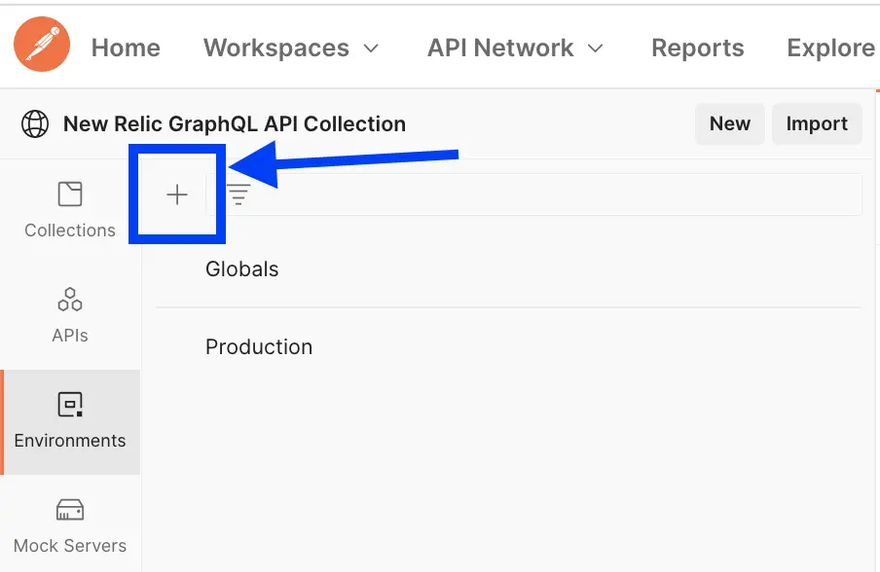
Next, select the plus symbol to create a new environment. You will be prompted to name it. You can name it anything that makes sense for your work, for example, “Production” or “Staging.”
Once you have finished and saved, you are ready to go!
The collection is organized into two separate top-level folders: mutations and queries. Within the mutations folder, you will find sub-folders organized by topics for all the areas of your New Relic account you can modify. The queries folder contains top-level requests that will get you started in requesting data from your account.
Next steps
Want to try this out on your own free account? Sign up today to try all of New Relic’s features with 100/GB of free data ingest.
Have any questions about the processes described in this blog post? Connect with the New Relic Developer Relations team on our community Slack or send us an email at devrel@newrelic.com!
Did you know you can also monitor your API performance from Postman with New Relic? Learn how to get instant API observability with the Postman integration and quickstart.


Top comments (1)
Looks really cool, thanks for sharing!