
Step1.Lanuch EC2 Instance
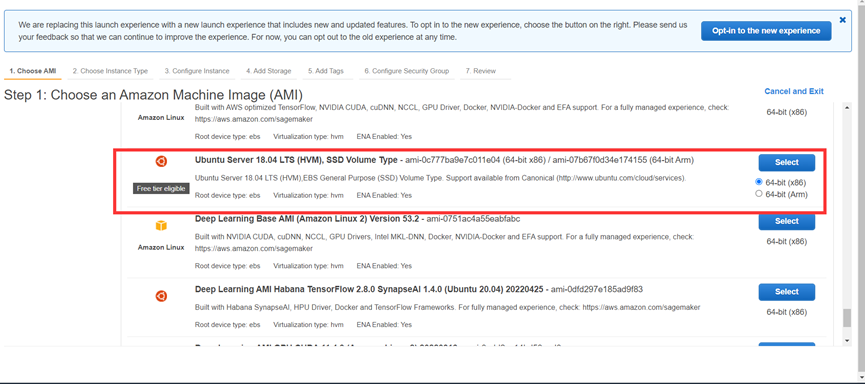
1.Choose Image(Ubuntu 18.04)
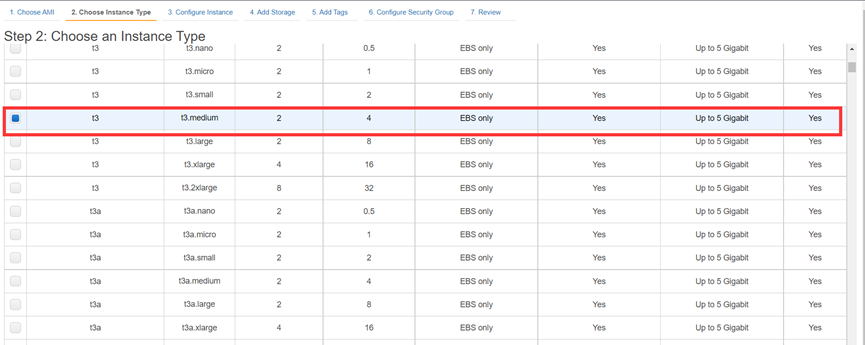
2.Choose Instance Type(T3.medium)
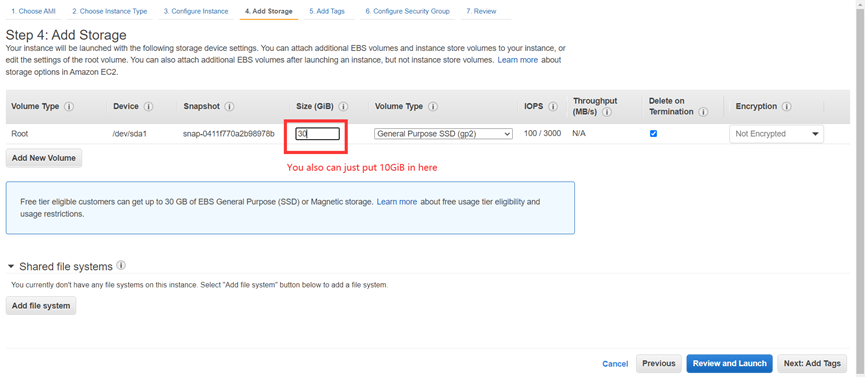
3.Add Storage(Least 10GiB)
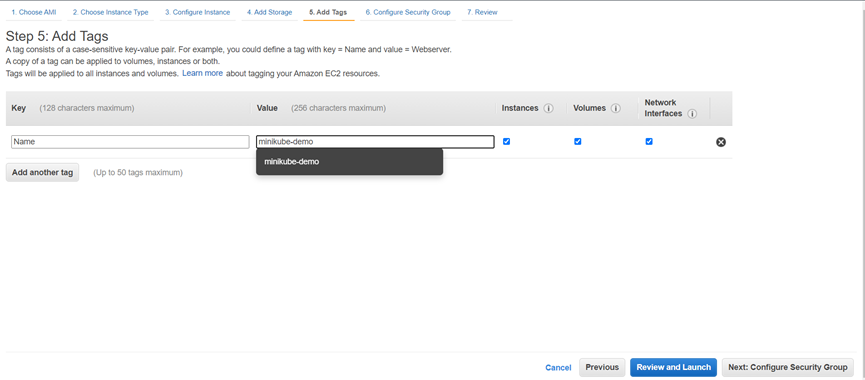
4.Add Tags(Options)
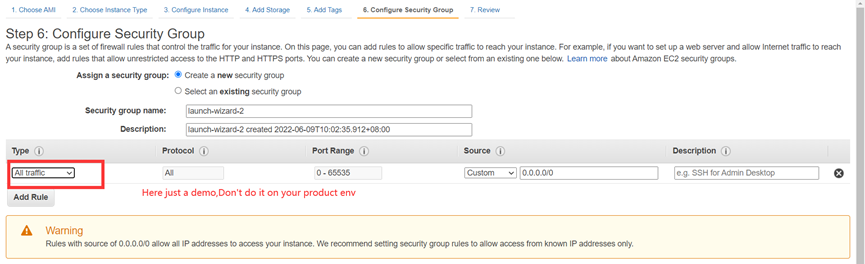
5.Add SecurityGroup
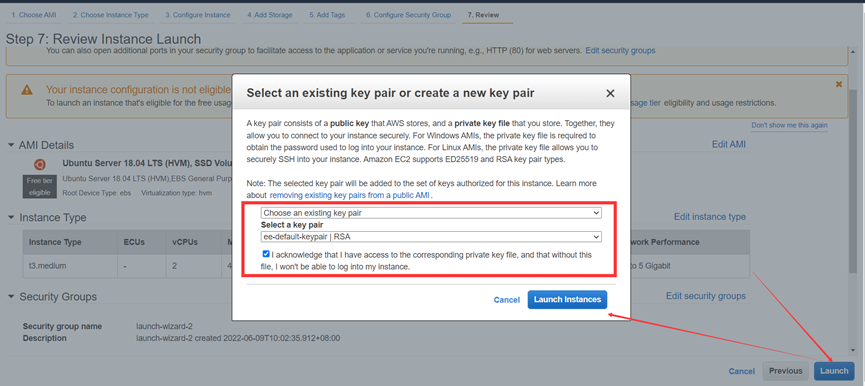
6.Check and lanuch
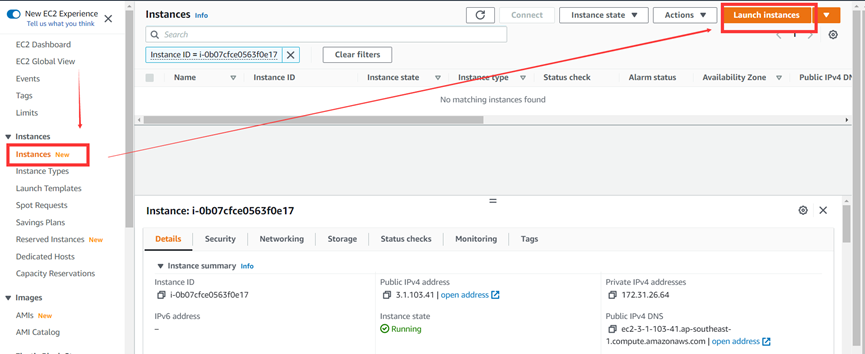
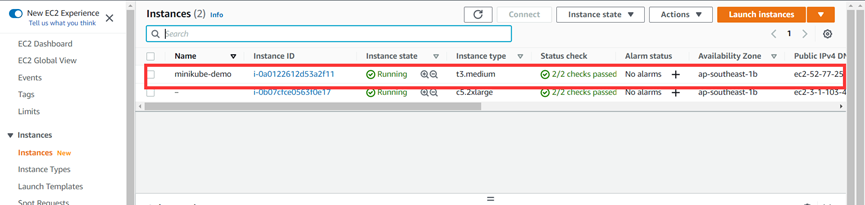
7.View Your Instance
Step2.Login into your Instance
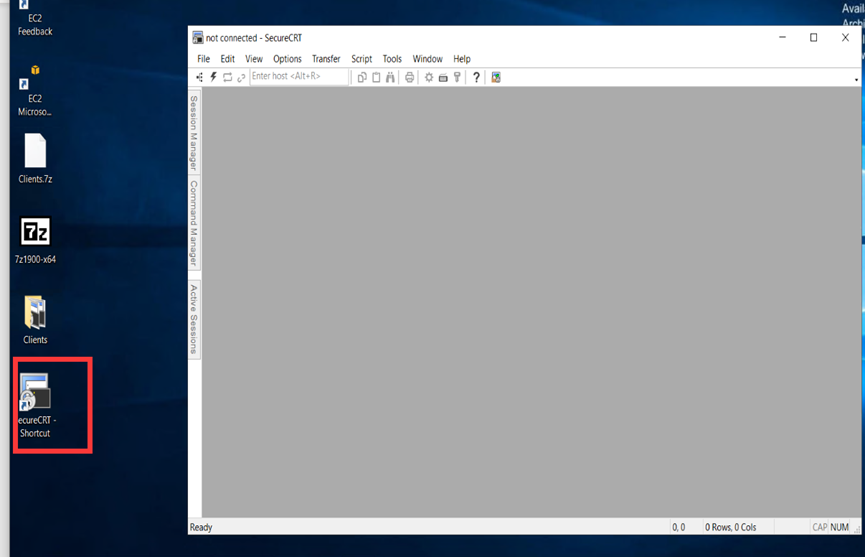
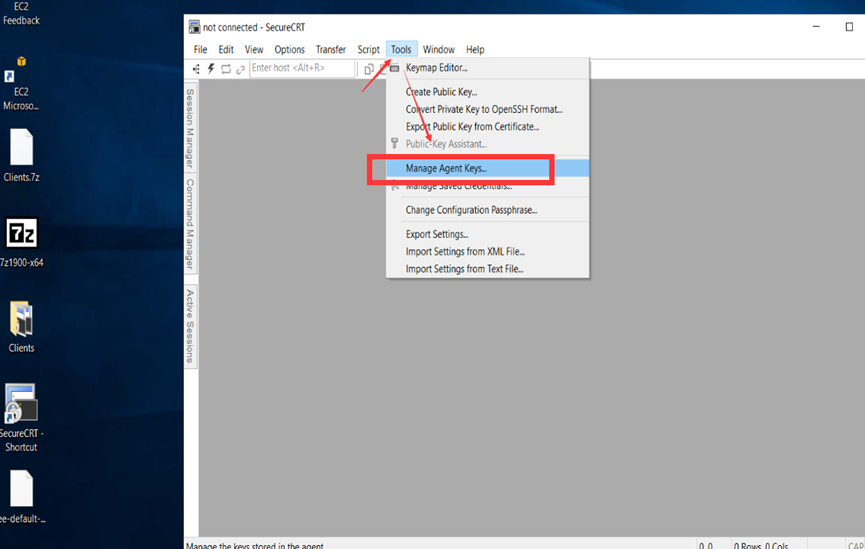
1.Open SecureCRT Connect Tool
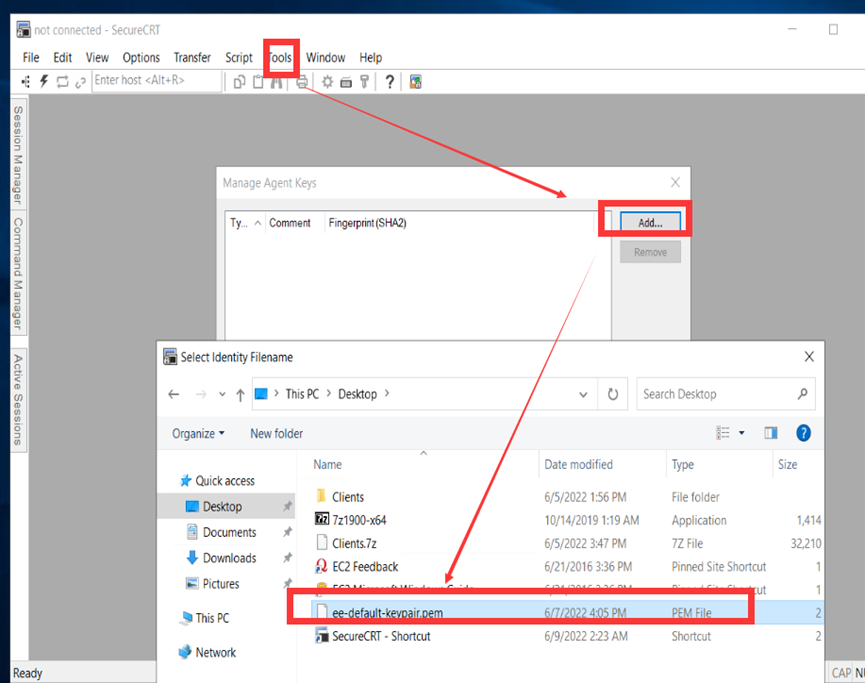
2.Add .PEM key
3.Login use ubuntu User


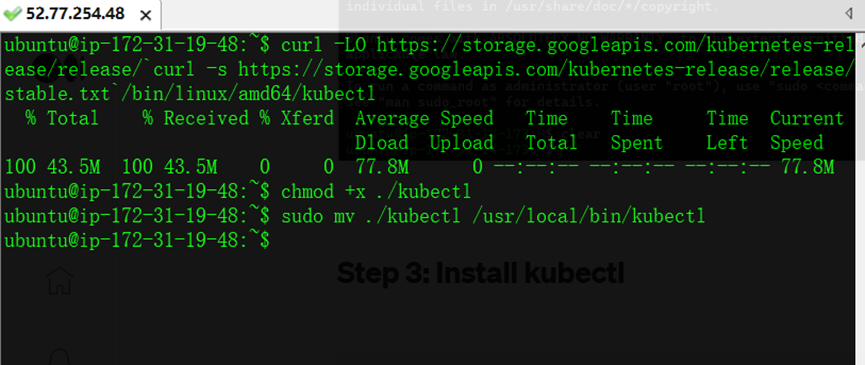
Step3.Install Kubectl(Use ubuntu User)
curl -LO https://storage.googleapis.com/kubernetes-release/release/`curl -s https://storage.googleapis.com/kubernetes-release/release/stable.txt`/bin/linux/amd64/kubectl
chmod +x ./kubectl
sudo mv ./kubectl /usr/local/bin/kubectl
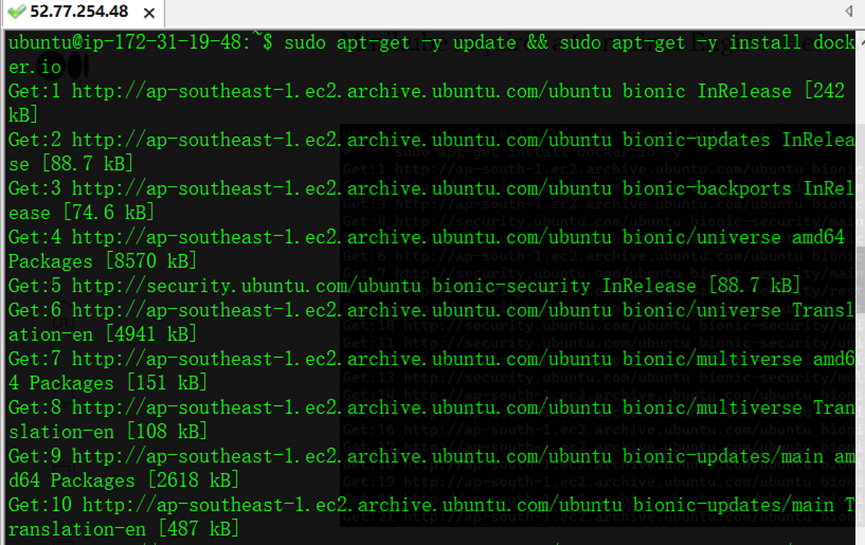
Step4.Install Docker(Use ubuntu User)
sudo apt-get update && sudo apt-get install docker.io -y
sudo systemctl start docker
Step5.Install and check Minikube
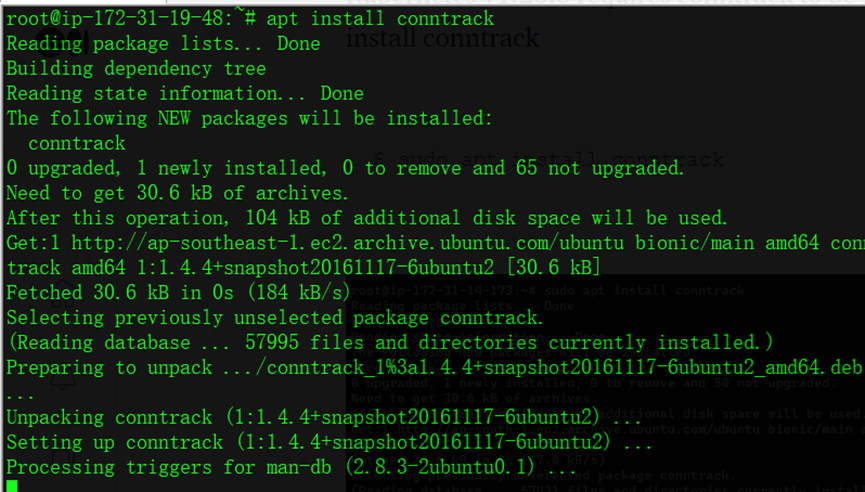
1.Install conntrack(Root User)
sudo -i
apt install conntrack
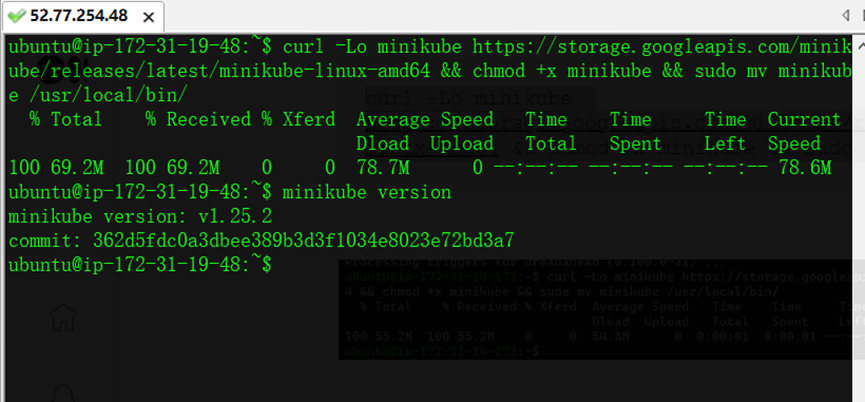
2.Install Minikube
curl -Lo minikube https://storage.googleapis.com/minikube/releases/latest/minikube-linux-amd64 && chmod +x minikube && sudo mv minikube /usr/local/bin/
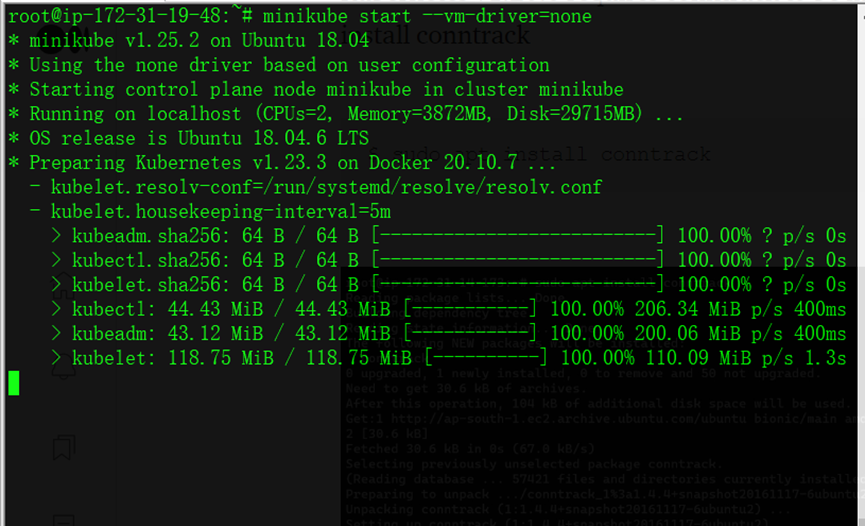
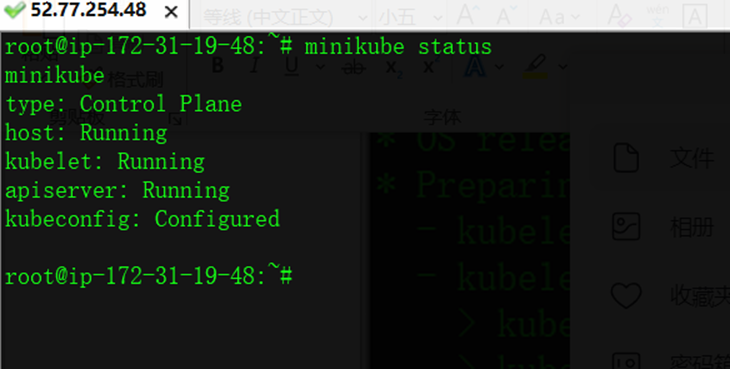
Step6.Start and check Minikube
minikube start --vm-driver=none
minikube status

Top comments (0)