Not always you will be in comfort of using a single python version for everything you write. Sometimes you need to juggle the versions around. Also installing dependencies system wide can evolve into unmanageable mess, when you want to freeze the dependencies into requirements.txt file, and end up putting more than needed.
Fortunately, python is popular enough to spawn multitude of tools to help with managing versions, and creating virtual environments, where you can put only required dependencies of your project. Combination of pyenv and virtualenv allows to do just that. For the purpose of this tutorial, I will be using MacOS and homebrew package manager, but you probably can succeed with changing some steps on Linux and Windows. I also assume that you have homebrew installed, if not, head to https://brew.sh
Pyenv
First of all, we need to install both pyenv and pyenv-virtualenv:
brew install pyenv pyenv-virtualenv
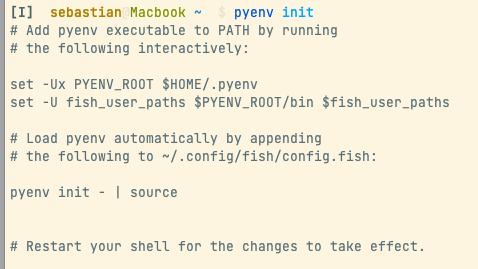
Next, you need to run pyenv init, which will print out instructions on what needs to be done to configure shell for pyenv use. In my case for fish shell, following appears:
At this point you are almost done. So what can you do now? Well, you need to install python version through pyenv. Let's list available versions first via pyenv install --list:
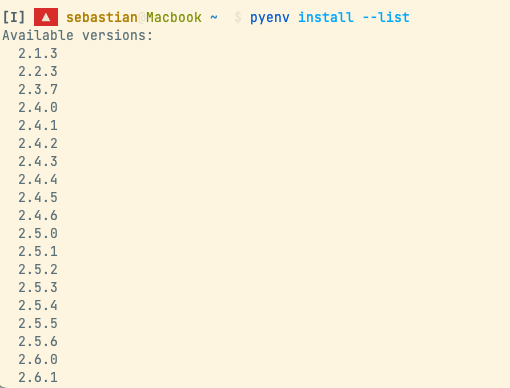
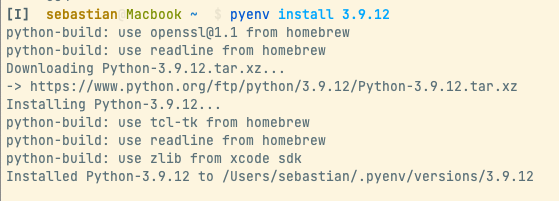
There are tons of versions, along with miniconda, anaconda and other flavors. In fact, at the time of writing this post, there are 564 versions available for install. Let's install version 3.9.12 for our example with pyenv install 3.9.12:
At this point you are pretty much done with pyenv. You can view your python versions with command pyenv versions.
Virtualenv
You can spin virtualenvs of pyenv versions you have installed. Simply run pyenv virtualenv $python_version $custom_name. Your virtualenv will be now available at $custom_name.

We can now activate said virtualenv with pyenv activate $custom_name (My terminal theme chose bad color, but before my login name, there is grey name with virtualenv. Sorry :D ):

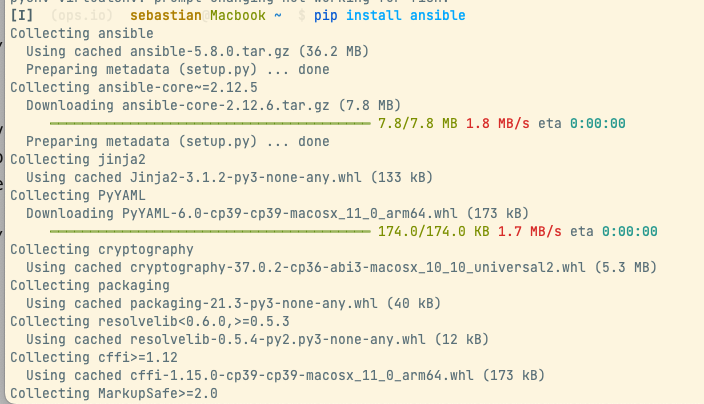
Let's install something to virtualenv, like my favourite package, Ansible:
That's it! You can now either do some work with your virtualenv or disable it with pyenv deactivate.
Doom Emacs bonus
I am even more lazy, so with help of Internet and emacs, correct virtualenv is being activated as I switch to correct project.
First of all, you will need to create virtualenv with the same name as your project. After that, in your project directory, run `pyenv local $custom_name. This will create .python-version file, which point to your pyenv virtualenv.

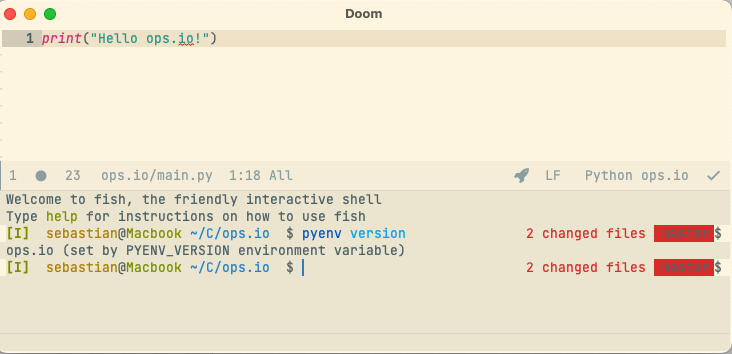
Now everytime I switch to this project, virtualenv will activate automatically for this project:
You can achieve this, by adding following to your emacs configuration:
(require 'pyenv-mode)

(defun projectile-pyenv-mode-set ()

  (let ((project (projectile-project-name)))

    (if (member project (pyenv-mode-versions))

        (pyenv-mode-set project)

      (pyenv-mode-unset))))

(add-hook 'projectile-after-switch-project-hook 'projectile-pyenv-mode-set)
That is it. I hope it is useful. Pyenv of course allows for much more options, just run pyenv to see whole list of options.
(This is my first tutorial style post ever :D Improvement is very important for me, so feedback is welcome)

Latest comments (0)