Kubernetes has become the leading choice for orchestrating containerized workloads with 61% of organizations worldwide adopting it.
While Kubernetes itself is open-source and doesn’t cost anything to use, managed control plane offerings like EKS and GKE, and the compute and memory resources they spin up do add to your cloud bill. And with the set-and-forget simplicity it provides, costs can quickly spiral out of control if not managed with a proper strategy. This may be new to those moving from traditional cloud or VM-based architectures. Furthermore, the cloud provider bill does not provide enough granularity on which resource or application ends up costing you a lot.
The first step to optimizing costs is gaining visibility into your costs using tools. Kubernetes provides a Metrics Server and kube-state-metrics that can give you the overall picture of resource utilization by your cluster. There are more tools that provide more granular breakdowns and provide dashboards with business metrics, infra cost, and alerting functionalities. Here are some strategies to optimize your resource utilization and cloud bills on k8s.
What is workload rightsizing?
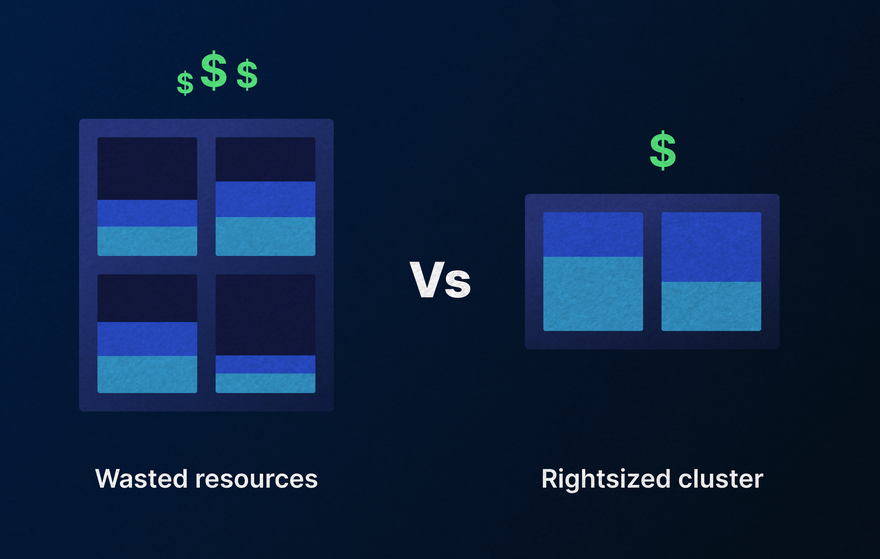
Workload rightsizing is all about ensuring that your system has sufficient resources to be resilient and also run in a cost-effective manner. You don’t want to end up over-provisioning or under-provisioning resources in the cloud.
Over-provisioning is when you are on a large cluster that is more than what is required for your workload, you end up paying more for machines and resources that are not fully utilized. By downsizing to a smaller cluster, you can reduce your overall costs. This is a quick and easy way to cut some slack across your system and reduce costs. This can be done both at a cluster or a node level, thus eliminating over-provisioned resources and bringing immediate cost savings to your cloud bill.
A good Kubernetes cost management tool can provide you with the necessary visibility into your cluster including a breakdown of utilized, idle, and unallocated costs by cluster. You can manage these instances manually, but it is time-consuming. This entire process can also be automated using auto scalers and doing it through an autoscaler also reduces the chances of terminating an active service.
Now that you have visibility into your costs and understand what workload rightsizing is, these expert recommendations can help you save costs while running on Kubernetes.
Resource requests and limits
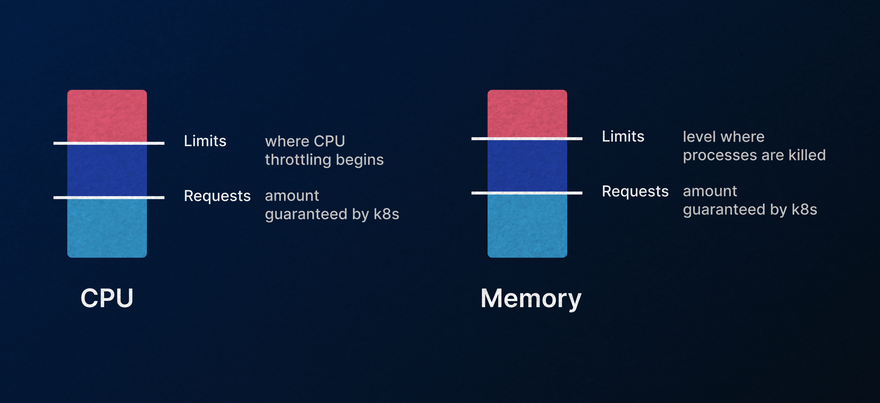
An essential brick to an effective cost-saving strategy is to set requests and limits for resource usage. Efficient resource requests and limits ensure that no user or application of your Kubernetes system consumes excessive computing resources like CPU and memory. To implement resource limits, you can configure them Kubernetes-natively with Resource Quotas and Limit Ranges.
Considerations
- Setting requests without setting limits is a good way to ensure applications do not get terminated prematurely even though there are resources available on the node.
- When the resources available and needed exceed the requested value, the excess available is split in the proportion of resource request. For example, suppose there are two pods, A (request: 1 vcpu; limit: none) and B (request: 3 vcpu; limit: none) on a node with 8 vcpu. Suppose also that there is a spurt of traffic causing the pods to use more than the requested resources. Then the 8 vcpu of the node are split in the ratio of A:B :: 2:6.
This is especially effective in organizations where the developers have direct Kubernetes access through a self-serve model through fair sharing of available resources without impacting availability.
💡 Here is a useful guide about choosing the optimal node size for your cluster.
Autoscaling
One of Kubernetes’ key features, the autoscaler is capable of increasing the number of nodes as the demand for service response increases and decreasing the number of nodes as the requirement decreases.
First, make sure you understand the CPU and Memory usage of your pods, and then set the resource limits and requests to enable Kubernetes to make a smart decision on when to scale up or down.
There are three main types of autoscaling.
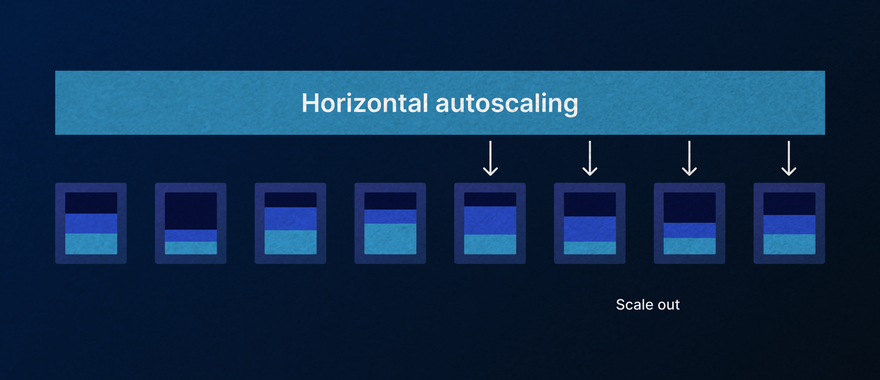
(1) Horizontal Pod Autoscaling (HPA)
This leads to increasing or decreasing the total number of nodes in your cluster. The HorizontalPodAutoscaler controls the scale of a Deployment and its ReplicaSet. It does so through a control loop that queries the kube-controller-manager intermittently (15s by default). It then checks the utilization against the metrics specified in the HPA definition The metrics can be pod resources like CPU, custom metrics, object, and external metrics. The metrics are fetched from aggregated APIs.
HPA is more commonly used and is the preferred option for situations with a sudden increase in resource usage. KEDA.sh can help flexibly autoscale the application based on custom metrics, like the size of a queue or number of network requests.
(2) Vertical Pod Autoscaling (VPA)
VPA lets you analyze and set your CPU and memory resources required by your Pods. Rather than having set CPU and memory requests and limits, VPA allows provides recommended values that you can use to manually update your Pods. You can also configure VPA to automatically update the values.
Note: Pods are recreated when VPA updates the specifications.
To use VPA with HPA, you will have to use multidimensional autoscaling (GKE).
(3) Cluster Autoscaling (CA)
The Kubernetes Autoscaler (Cluster Autoscaler) automatically adjusts the size of the Kubernetes cluster by spinning up new nodes when pods have insufficient resources.
Cloud providers also have their own implementations of this - AWS Cluster Autoscaler, GKE Cluster Autoscaler, and Azure Kubernetes Autoscaler.
💡 Karpenter.sh takes a more intelligent, faster approach to autoscaling and improve availability on AWS.
Node configurations
The basic components of any node are the CPU, memory resource, OS choice, processor type, container run time, disk type, and network cards. Since we have covered memory and CPUs above under resource limits, we will focus on other node configurations that can lead to cost savings.
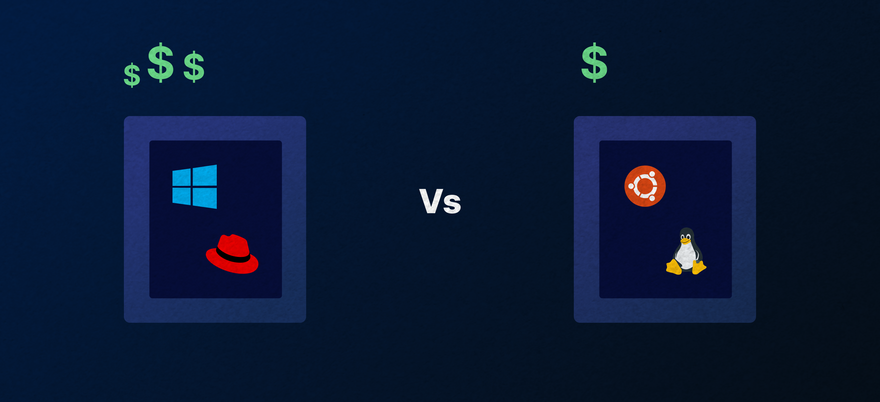
- Use Open source OSes to shun the expensive license fees of Windows and RHEL.
- Pick cost-effective processors that provide the best price-performance value.
💡 Here’s a comparison between AWS’s Graviton and GCP’s Tau for a Distributed Database.
Azure’s Hybrid Benefit allows users to use existing on-premises Windows Server and SQL Server licenses on the cloud with no additional cost.
Fewer clusters
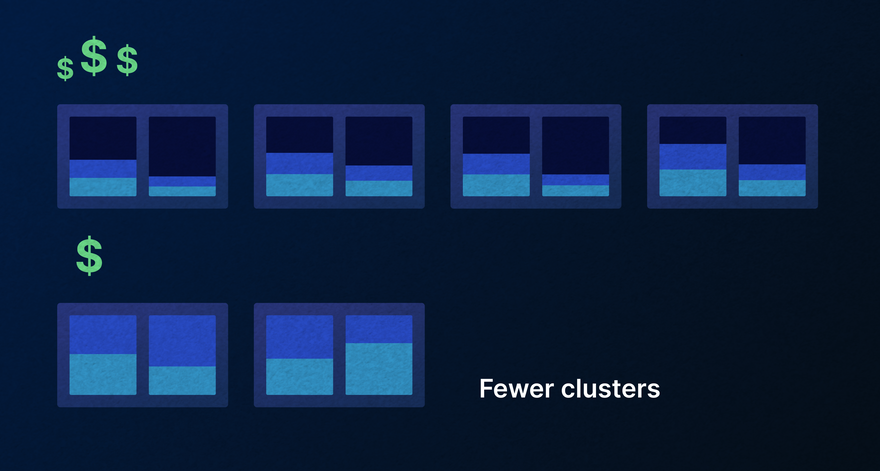
When running Kubernetes clusters on public cloud infrastructures such as AWS, Azure, or GCP, be aware that you are charged per cluster.
Minimizing the number of discrete clusters in your deployment can eliminate additional costs. Alternatively, you can share clusters among your teams in a multi-tenancy setup to reduce costs. The cost per cluster is shown in the table below.
| Cluster management fees | Fees | Free tier & credits |
|---|---|---|
| EKS | $0.10 per cluster per hour | 12 months of free services and free credit offers |
| GKE | $0.10 per cluster per hour (charged in 1s increments) | $74.40 / mo credit applied to zonal and Autopilot clusters |
| AKS | $0.10 per cluster per hour for Azure Availability Zone clusters | 12 months of free service and $200 credits |
| DOKS | Starting $12 / node / month. Node-based pricing | Control plane for free. $200 credit for 60-days |
There is no one best choice between these providers. All of them offer you a stable cluster that conforms to CNCF’s standards. It comes down to the other services from the cloud provider that you want to leverage.
Purchasing options
The major providers offer three main purchasing options for cloud resources:
- On-Demand: The computing resources are made available as the user needs them.
- Commitment-Based: Plans such as Savings Plans (SPs), Reserved Instances (RIs), and Commitment Use Discounts (CUDs), deliver discounts for pre-purchasing capacity (usually for 1 or 3-year term).
- Spot: The spare cloud service provider (CSP) capacity (when available). Spot pricing offers up to 90% discount over On-Demand pricing. Hourly pricing varies based on long-term supply and demand.
Since there are many different instances, the below table provides links to the information you need. Remember, within reserved instances, there are two types of reserved instances - Standard and Convertible (AWS), with the convertible one offering more flexibility. If you’re looking for reserved instances at a lower price for a shorter duration, head on over to the Reserved Instances marketplace. These Standard RIs are no different from the Standard Reserved Instances purchased directly from AWS.
| Saving plans | Reserved Instances | Spot pricing | |
|---|---|---|---|
| AWS | AWS saving plans | AWS Reserved Instances | EC2 Spot Instances |
| GCP | Sustained use discounts | Committed User Discount | Spot VMs |
| Azure | Azure savings plans | Azure Reserved VMs | Spot VMs |
Other optimizations
- Data transfer rates can significantly add to the price of operating your Kubernetes clusters with cloud providers. Especially when transferring data across availability zones and regions.
- The attached persistent storage has an independent lifecycle from your pods. Identifying unattached storage instances and deleting them and their snapshots is an important step to reducing costs in storage. Here are some other ways to make persistent storage more efficient.
- Sleep mode by Loft is a quick and easy way to automatically scale down unused namespaces and vClusters.
- Detecting usage and further anomalies by monitoring your cluster.
- Finding orphaned resources that you provisioned and paid for that nobody is using and cutting them down.
Try Argonaut
Get pod and cluster autoscaling, along with overall cluster cost visibility out of the box with Argonaut. Try it out now.


Top comments (0)